If you often drive early in the morning or at night, you spend most of your time in a dark vehicle, and at that time a small interior/dome/cabin light becomes an indispensable widget if you need to find something inside.
However, driving with the interior lights on at night can be dangerous as it affects your vision and ability to drive safely. A proven solution to this problem is the use of dim interior lighting instead of normal bright lighting. Another idea is to use a ‘one-shot’ lamp, which is the theme of this writeup.
So, this post shares an entry-level hobby project idea to make a standalone automobile interior light that will automatically turn off after some delay and fade slowly before turning off. As the basic circuit diagram below proves for itself, you do not need to buy costly parts to make this crazy car dome light. A handful of junk box components is enough. No hard-to-buy microcontrollers or long lines of codes to fill them with. Well, give it a try now!

The operation of this circuit is very simple. During power up, the lamp lights up instantly. Later, it fades slowly and eventually goes away after a little delay. The lamp can then be turned on again thru the push-on button switch, or a power cycling after a while will do that. By design, the default delay time is closer to 15-20 seconds, but this can be changed by altering the value of the 100KΩ resistor and/or the 100uF capacitor.
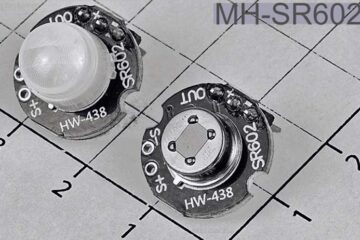
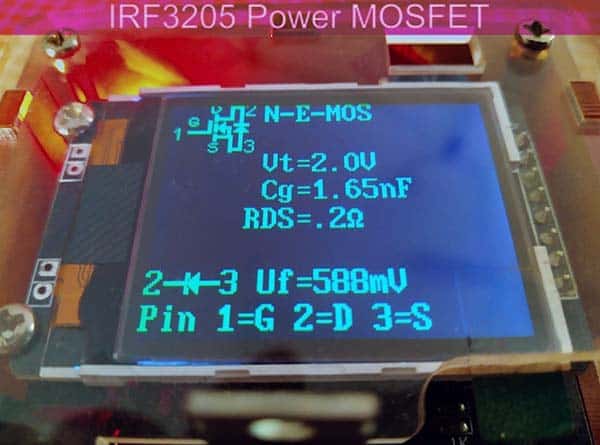
The key component in this circuit is the easily available IRF3205 Power MOSFET.
Below you can see its quick test report.
Learn more about Power MOSFET parameters: https://www.taiwansemi.com/assets/uploads/productcategoryfile/AN-1001_A1611.pdf
Not much to the construction and installation, really. Cheap components are used throughout, and the resistors can be regular carbon film types. The circuit will work fine with a fairly wide range of values. The polarized capacitor however needs to have a minimum voltage rating of 25V, but a higher voltage one can be used if you have it to hand.
The whole setup is very compact. So it can be easily installed anywhere inside. For example, as an overhead light under the cabin roof of your ‘non-luxury’ automobile. And, nothing is critical, except that all the usual precautions against electric short circuits must be taken.
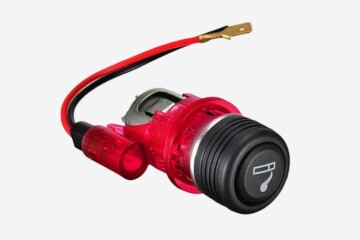
As an aside, standard dome lights use the door switch to make the negative/ground connection to the lamp, with the positive connection being permanently wired to the vehicle’s positive battery terminal (in negative ground models). When the door is open, the door switch closes and creates a short to the chassis of the vehicle.
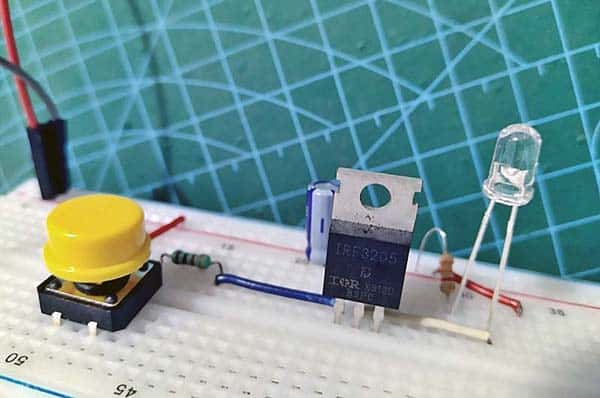
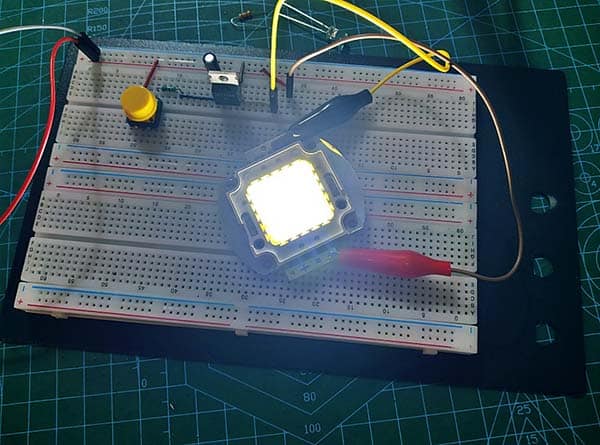
In the usual manner, the prototype was first built on a breadboard and powered by a lab power supply. An ultrabright 5mm red LED with a 3.3KΩ series resistor was used for the first test (Just to convince myself).
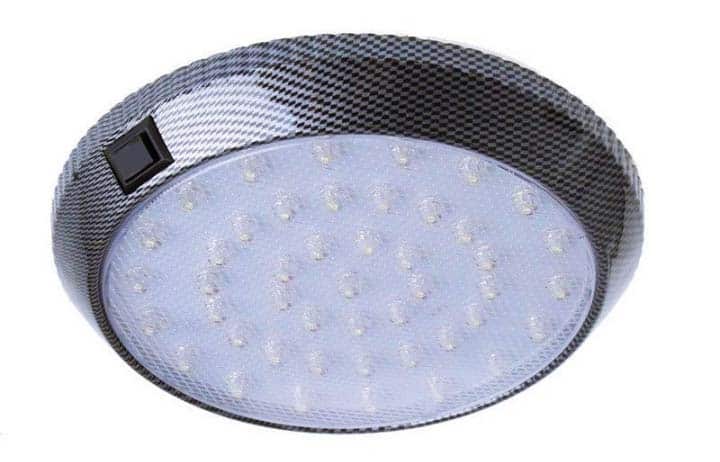
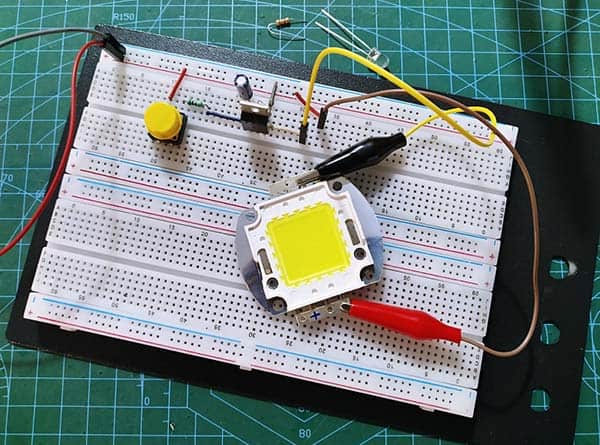
And so I picked a 12V/20W white power LED as the light source while running the final tests and everything worked fine.
Without further ado, I started soldering the parts onto a small piece of FR4 perfboard.
In the end the entire assembly was housed inside an old dome light shell. Unfortunately I have not kept any photos of the final build, now it is in a pickup truck far away from me.
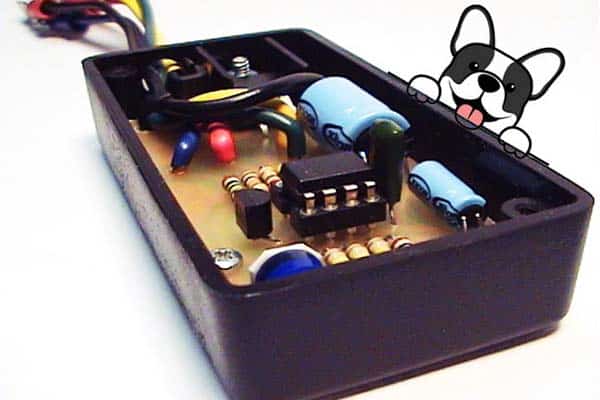
OK, there are countless automotive dome lights and dome light extender/delay circuits on the web and in magazines, but you will not find a peculiar dome light controller like the one presented here. Even if you can find out one, it is far more complex than it needs to be (see below). My goal was extreme simplicity, and I think it has been attained (if not let me know).
After all your hard work, the reward is bettered lighting suited to your comfort, purpose or needs. Enjoy!
Next in this automotive electronics series is the construction project of a smart courtesy light. I just got a design spark so it might take a while to share. Stick around, there is more to come.