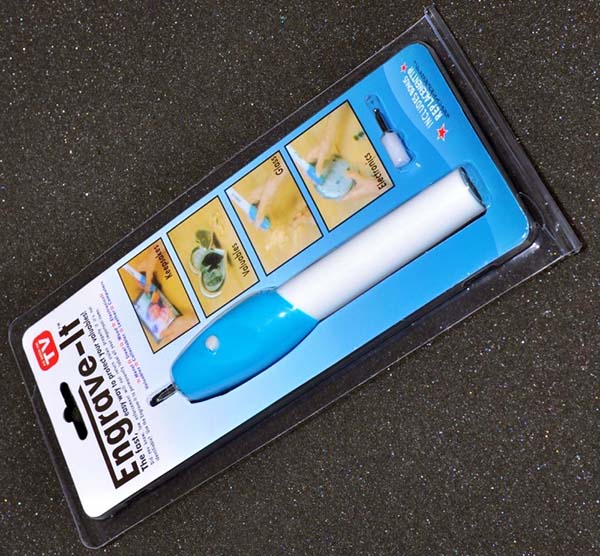
A handheld engraving pen can be used to create permanent and precise designs in hard surfaces like plastic, metal, wood, and the like. Inside the pen, there is a battery and a small electric motor that rotates the stylus to engrave into a material or surface.
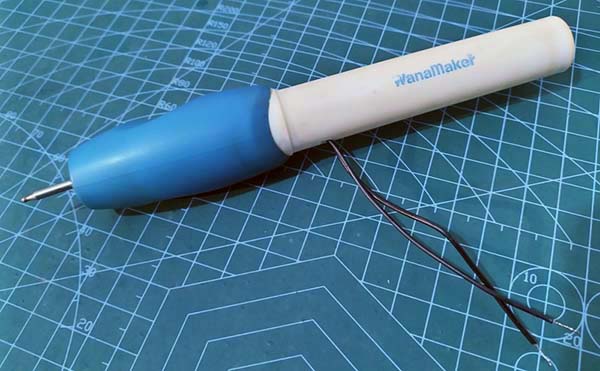
Below you can see the pretty cheap electric engraving pen sold by most online sellers. The extremely hard tip pointer (stylus) of this handheld tool is made of stainless steel and is powered by 2 x 1.5V AA batteries. However, some pricey models come with a pair of carbide tips that are easily replaceable, made of durable tungsten carbide.
Most engraving pens I have seen, whether they are cheap or costly, simply use a momentary pushbutton switch mechanism to turn the motor on and off. After getting one myself, I found the same with my device. So I opened it up and decided to do a little hack to give it some flair.
That means I need some way to give it the ability to obey commands from an external footswitch or something. I do not want to spend any money so it will have to come from my parts bin. Luckily, I worked on a related project a while back and had some parts left over that suited my needs.
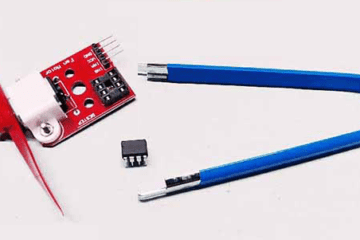
The little hack involves soldering a pair of wires across the push button switch contact (see below). With the extra wires soldered it was time to put everything back together and see if it worked. Success!
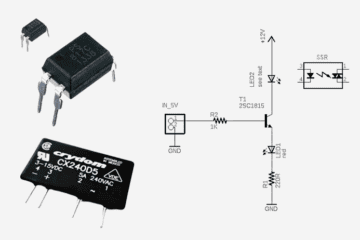
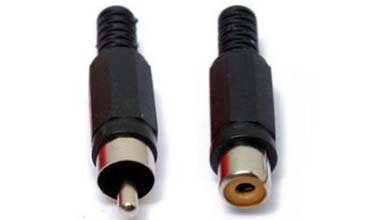
Unlike what I did, you have to solder an RCA male plug to the free end of the wires. If so, you can easily attach and detach the external switch with the help of an RCA female jack. RCA male and female connector kits (see below) are very common and available at low prices everywhere.
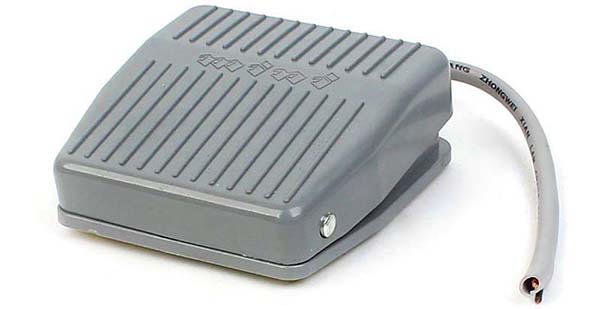
Then, a momentary action foot pedal switch (https://www.codrey.com/electronic-circuits/mini-pcb-drill-speed-controller-v1/) is enough to operate the engraving pen more handily. Voila!
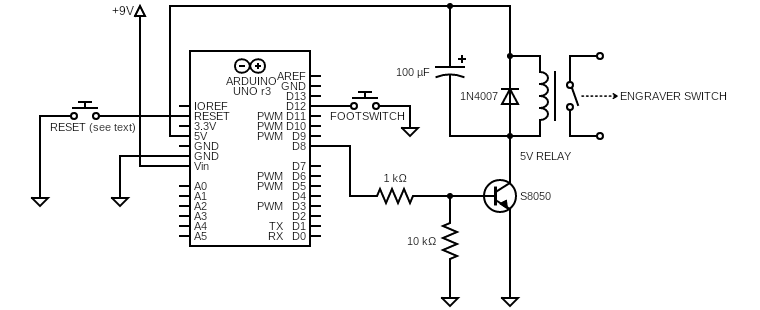
After some time, I decided to add a closedown timer setup instead of just using a normal footswitch in there. Without any intention but I tried an Arduino Uno system for that enhancement as shown in the schematic below.
Here is the Arduino Uno/Nano code for the above hardware configuration!
long closedownTimer = 0;

void setup() {
  pinMode(13, OUTPUT); // ALERT LED D13 ONBOARD
  pinMode(12, INPUT_PULLUP); // FOOTSWITCH INPUT D12
  pinMode(8, OUTPUT); // RELAY DRIVE OUTPUT D8
  digitalWrite(8, HIGH); // RELAY ON
}

void loop() {
  while (millis() - closedownTimer < 6000) { // CLOSEDOWN TIME = 6SECs
    if (!digitalRead(12)) {
      closedownTimer = millis();
      blinkLed();
    }
  }
  digitalWrite(8, LOW); // RELAY OFF
  delay(1000); // PAUSE
}

void blinkLed() { // VISUAL ALERT
   digitalWrite(13, HIGH);
   delay(300);
   digitalWrite(13, LOW);
  delay(300);

}
This code, as you can see, is simple and straightforward. When executed, it turns on the relay for about 6 seconds. So, the engraving pen connected through the relay contacts will also run for that predetermined time and after that it will switch off to preserve its internal battery.
If you want to extend the running time, press the foot switch as long as you want the tool to run. At that point the Arduino’s onboard LED (D13 LED) starts flashing to indicate the time extension mode. Also, when you release the foot switch, the relay stays in the energized state for an additional 6 seconds as programmed. How is it?
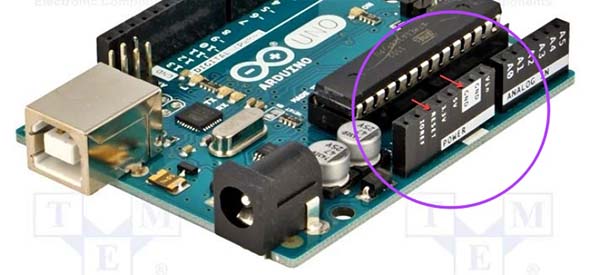
In this pretty basic code, the Arduino microcontroller must be reset (or a power cycling is necessitated) before the next run. So, to make it easier, you can wire an external “reset” switch (momentary push button switch) between Arduino’s “RESET” header and “GND” rail as depicted in the schematic. Or use Arduino’s onboard reset button (mounted atop) if you are comfortable. That is it!
Finally, it may seem strange to include this topic on this page when I am sure many of you are already familiar with it, but it is true that there are some readers here who are waiting for such unique topics. I hope this post inspires them in one way or another!