As promised, this is a follow-up to the Quick OLED Thermometer post covering a few things about customizing the OLED display splash screen. Oh, I could not get this posted here at the intended time, so let me start by apologizing for the inadvertent delay!
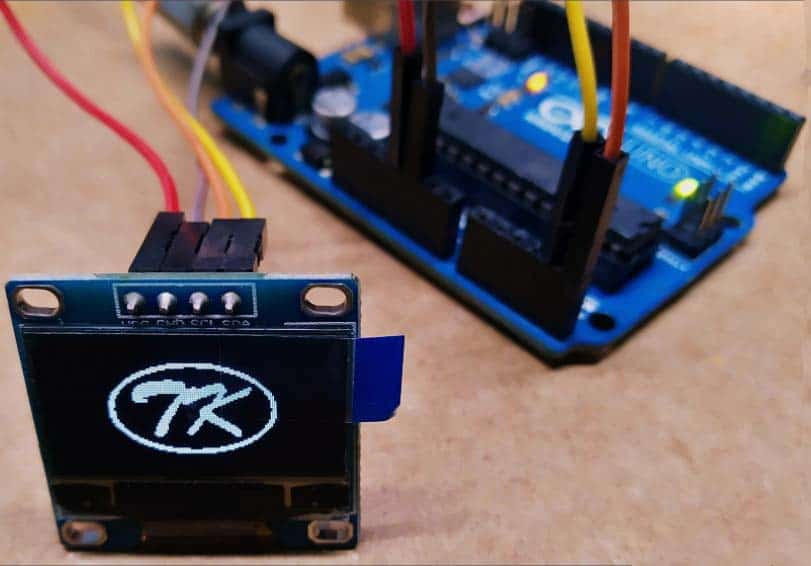
I am pretty sure you have done many OLED experiments with Arduino and other popular microcontrollers. Anyway, let me take a few moments to review the steps required to display data on the most common SSD1306 128×64 I2C OLED display module with the help of an Arduino Uno.
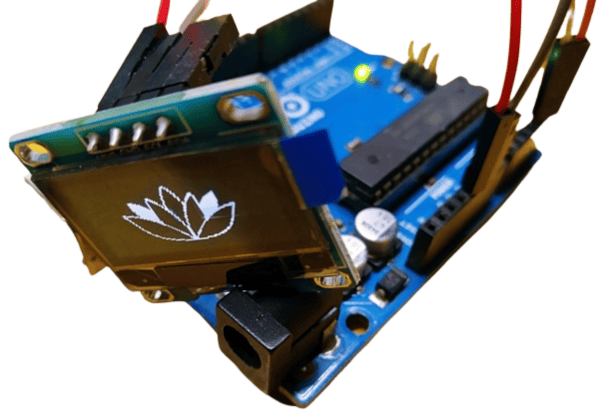
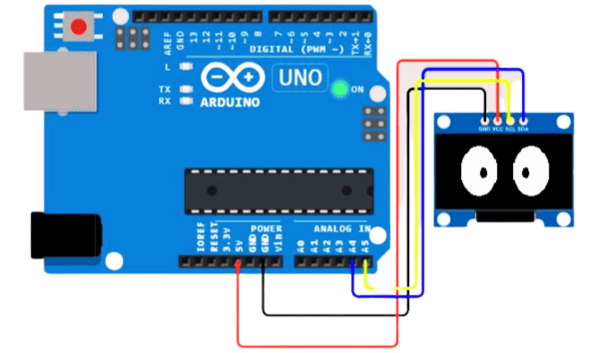
This mono colour I2C OLED display module has a total of 4 male headers which are clearly labelled as VCC, GND, SCL, and SDA. In most cases the default I2C address will be 0x3c.
The display module’s VCC and GND pins need to be connected to Arduino’s 5V and GND, while its SDA and SCL pins need to be wired to Arduino’s A4 and A5 analog pins respectively, as they are Uno’s I2C pins.
To control the display you will need to install the correct Adafruit SSD1306 libraries (Adafruit_SSD1306.h and Adafruit_GFX.h).
Note that these libraries come with great example codes which you can use to evaluate your OLED display module.
Now that we have retouched the roots, let us move on to the actual theme of this post.
So, you are looking for a way to abolish the default Adafruit Industries splash screen and want to display a different one on demand. It is very simple if the below steps are followed properly.
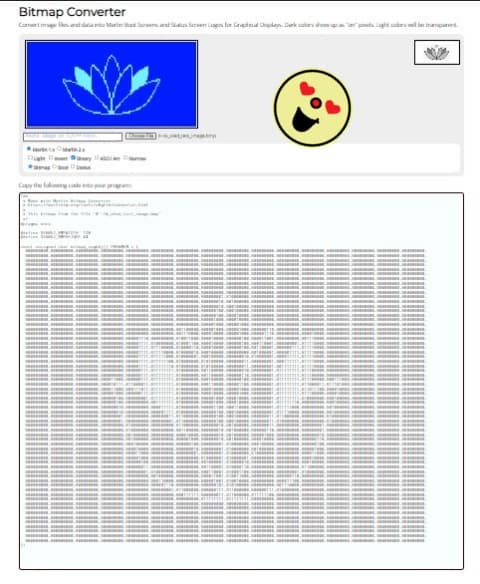
First, create a 128×64 8-bit bitmap of your logo using a graphics editor of your choice, and make sure that its background is actually white and the foreground is black (see below samples).

Next is to convert the saved image into code. For this, you can use the free bitmap to code converter tool “LCD Assistant” (https://en.radzio.dxp.pl/bitmap_converter/).
Also you can pick an online tool instead to do that https://javl.github.io/image2cpp/
Or, something much better like https://marlinfw.org/tools/u8glib/converter.html
Note at this point that my write-up does not explain all the requisite steps due to space paucity. You need to go through related tutorials to make your work moderately easy.
So, now go through this elaborated post to learn how to change the “splash.h” file https://www.studiopieters.nl/arduino-oled-i2c/
This is another worthy post to follow https://www.instructables.com/Change-Adafruit-Library-OLED-Logo/
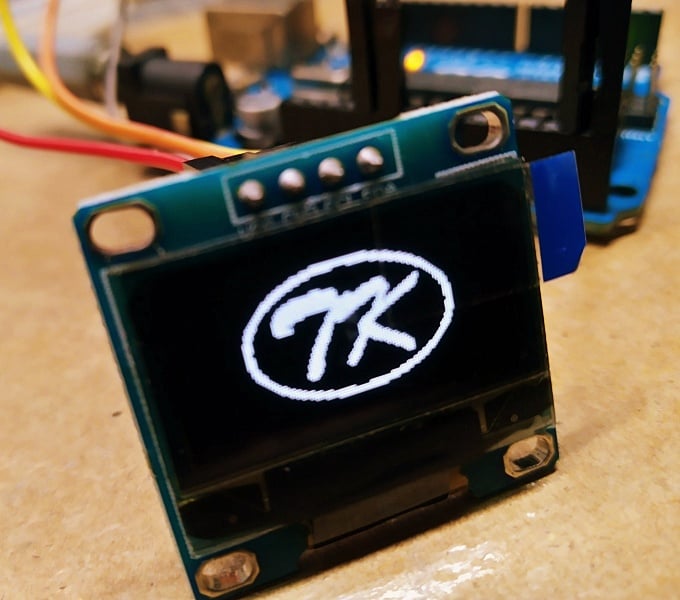
That is it. Assuming everything was followed correctly, your own logo should now be in place of the default graphics!
As a bonus, here is an awesome moving eye project I came across recently. You can simulate it, grab the code, copy the schematic, etc. by going through the WokWi link (my page) indicated below. Simulation is great as long as you do not become excessively dependent on it!
Arduino Uno OLED Moving Eye https://wokwi.com/projects/357192369511151617
Okay, got to have some fun sometimes, even if it is silly. Sometimes it is how we learn!