Now remember that you can interchange a regular LED for a standard silicon photodiode in most projects. The best way to come up with new applications for light emitting diodes that act as photodiodes is to play with the circuits I have presented here before.
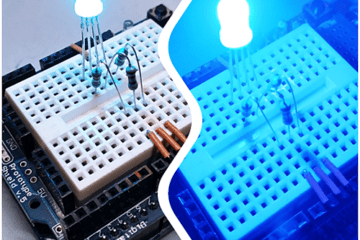
This time I am going to share the details of a simple Magic Eye project based on an Arduino microcontroller. Apparently, the light sensor in this system is a commonly available 5mm water clear red LED.

Not much importance at this time but below you can see the quick technical specifications of that 5mm water clear red LED used in this experiment.
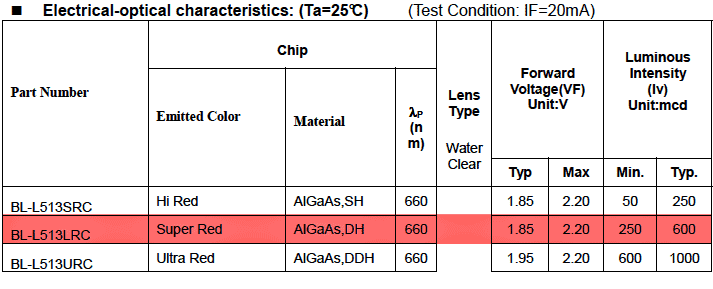
Also remember that a super-bright red LED is usually made from aluminium gallium arsenide (AlGaAs) and its sensitivity will be stable for a long time. As observed, red LEDs encapsulated in water clear epoxy give better results when used as light sensors.
This is the “magic eye” code for Arduino Uno (and Nano) microcontrollers prepared to continuously measure the ambient light level via a red LED wired to analog input A0. If there is a sudden change in light level (light to dark or dark to light), this code will turn on the onboard LED on the Arduino D13 and keep it in that state for a certain time i.e. about 10 seconds.
int v, v1, v2, t;

void setup() {
  pinMode(13, OUTPUT);
}

void loop() {
  v = analogRead(A0);
  v1 = (v1 * 3 + v) / 4;
  if (abs(v1 - v2) > 2) {
    digitalWrite (13, 1);
    t = 0;
  }
  v2 = v1;
  t++;
  if (t > 100)digitalWrite (13, 0);
  delay(100);
}
Therefore, this magic eye can be useful for many funny applications. Simply note, when the ambient light changes, a little light wakes up!

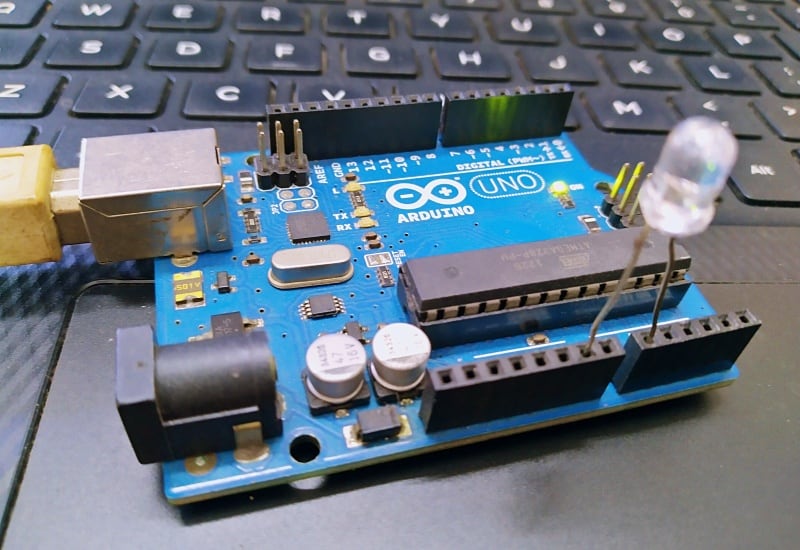
Now see the hardware wiring diagram (Use USB or 9V battery as power source).
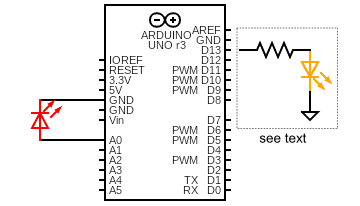
Needless to say, you can use an external LED as the light emitter by wiring it to D13 through a suitable series resistor – a 1KΩ ¼ w resistor for example. Or, make it even nicer with an appropriate NPN transistor to drive a bunch of colorful LEDs as desired.
Back to the secrets of the simplistic code (if you do not get it already), from the light level measurements in v, the code frames a slithering mean value v1, which is later written as the last value in v2. If both differ by more than 2, an abrupt light change is perceived.
Jumping to the quick conclusion, I am quite happy with the result. I got this cute idea from a forum a while ago, but I did not get enough time to play with it. Now I have tailored it for our STEM kids. The real goal with this funny project was to make something cool and useful and keep it as simple as possible. Achievement unlocked!