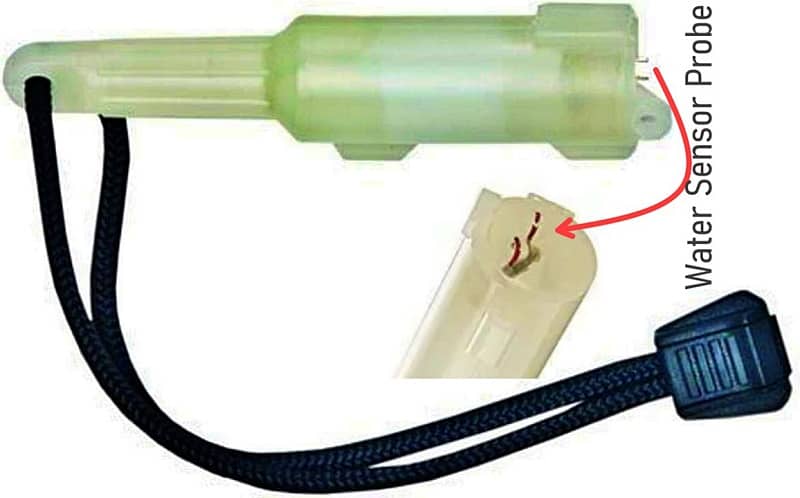
The water activated LED marker is a great scuba diving or night diving accessory. Its bright marker light turns on when its sensor probes come into contact with water and turns off when the probes dry out. Suitable for any water sport that requires high visibility at night, these disposable devices can be purchased from many online stores, but the prices are ridiculously high!
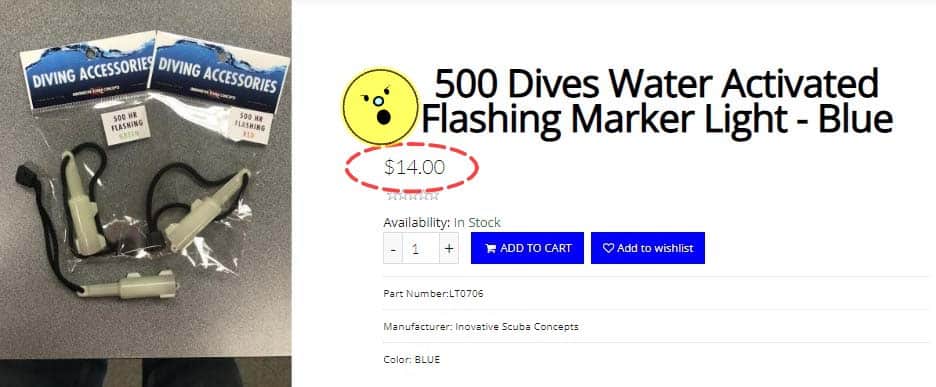
In my case, I would not buy one for such a shocking price because I know it is a very simple and cheap piece of disposable electronics. Look, we can easily build one too with a bunch of components lying around the workbench. Okay, let us get started…
Why build one? Well, note that my disagreement is only about the price but the idea seems fantastic because the waterproof marker light serves as a beacon for divers in the water. It helps scuba divers to see and identify each other while diving in the dark or in waters with low visibility. Usually the marker emits distinct colors like green, blue, yellow, red, or white to make them stand out in the dark. Moreover some “luxurious” multicolour lamp models have distinct lighting patterns like flash, fast strobe, slow strobe, SOS, throb, 100% steady glow, 50% steady glow, 25% steady glow, etc.
So, this post covers the construction details of a simple water activated marker light. If you are night diving for the first time, make sure to build one yourself as using it will greatly keep down your anxiety while scuba diving in the dark. In case of frequent quests from followers, an elaborated version of a scuba tank marker light will surely be developed later.
Water activated marker light circuit diagram is shown below. The sensor probe is a pair of thin metal rods (or needles) that should be fixed at a distance of 10 mm. However, you can also try your own ideas to make the water sensor probe. I leave that to you!
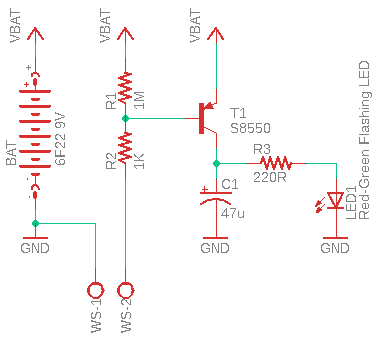
A 6F22 9V battery is preferred to run this circuit. Note that the best buy non-rechargeable 6F22 9V battery is the alkaline battery, while the best rechargeable 6F22 9V battery is the lithium-ion battery with inbuilt electronics which allows you to recharge it using a USB port and which also holds the output voltage around 9V constantly.
Back in to the circuit diagram, when water reaches the sensor probe, small current flows through it which is processed further by the ulterior circuitry. Resistor R1 ensures the signal stays off when there are not water droplets on the sensor probe. You can increase the sensitivity by increasing the value of R1 and reduce sensitivity by decreasing its value. Resistor R2 limits current to a safe level if the sensor probe is short circuited accidentally.
The entire setup can, with a little skill, be placed inside a home-made translucent waterproof container. You will need a removable lanyard with quick release clip outside the enclosure to tether it to the tank. This add-on lets the lamp to float upwards so that it can be seen easily. You can also clip the lanyard to mask straps, belts, and other location on your body or dive gear that needs attention. Borrowed blueprint of a typical enclosure is shown below just to help you get some creative sparks.
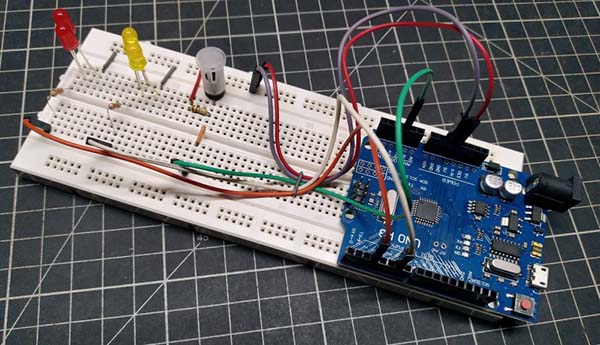
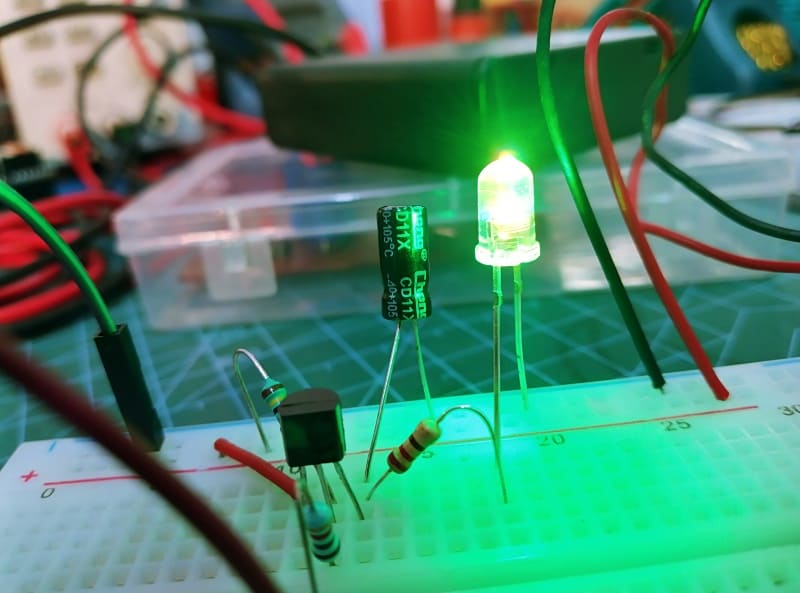
Initially, the concept was tested by assembling the entire circuit on a breadboard as shown below. At that time, sensor probe of a soil moisture sensor kit was used to test the functionality (with the help of a damp sponge). I know this is not the best way to do it, but it is good enough for a basic experiment!
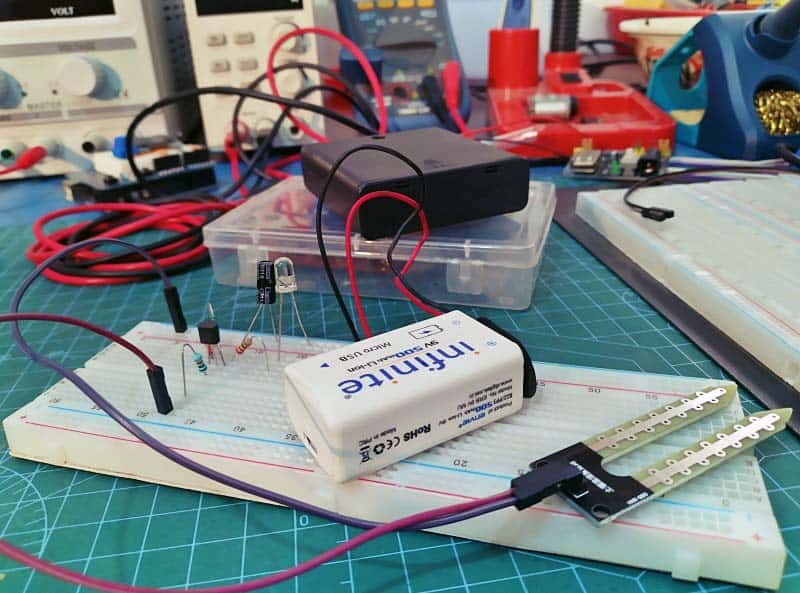
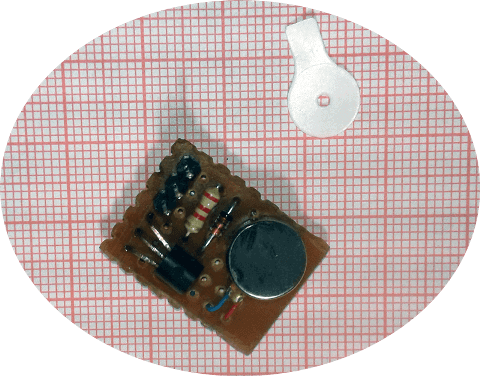
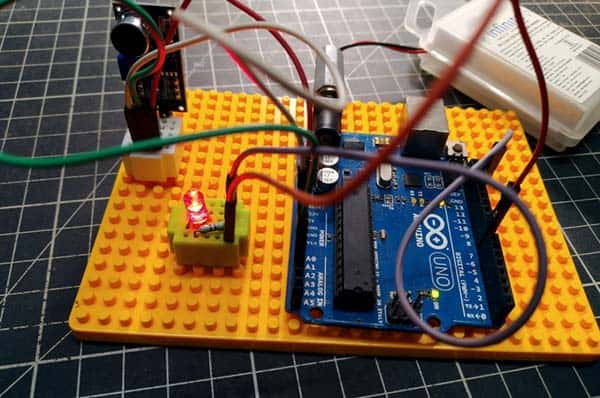
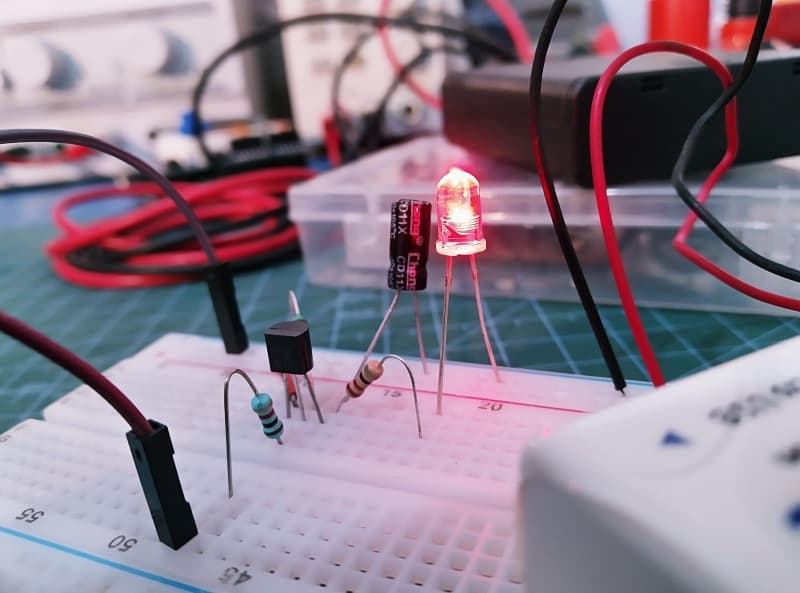
A few more snaps from my workbench:
The components used are:
- T1: S8550 PNP Transistor
- LED1: 5mm Red-Green Flashing LED
- R1: 1MΩ ¼ w Resistor
- R2: 1KΩ ¼ w Resistor
- R3: 220Ω ¼ w Resistor
- C1: 47uF/25V Electrolytic Capacitor
Well, I think that is all for now. See you next week!