 This is an update to an old project of mine that was printed almost a decade ago! Here is the link to that little nostalgic project https://www.electronicsforu.com/electronics-projects/portable-signal-wand
At this point, I’m using a microcontroller as the core of my modified concept. Yes, as you might guess, it’s an Arduino!
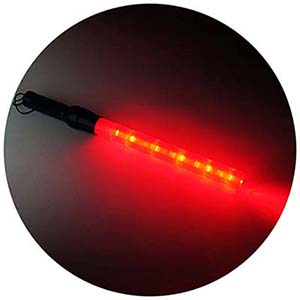
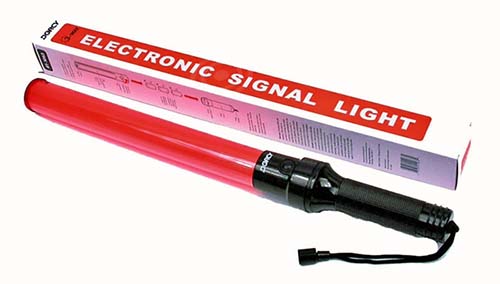
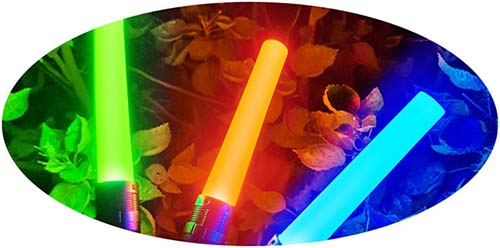
The basic idea for this simple project was formed when a cheapo Chinese traffic signal wand came to the fore while searching for some festive lamps. Let me show my source of inspiration below.
Below is the Arduino Sketch (the code) tailored for my 6-LED signal wand. Needless to say, this pretty simple code works on other Arduino boards as well, but you may need to tweak it a bit.
int timer = 600; // Cycle Timing
int pins[] = {7, 8, 9, 10, 11, 12 }; // An array of I/Os
int num_pins = 6; // The number of I/Os

void setup() {
  {
int i;

for (i = 0; i < num_pins; i++)
// The array elements are numbered from 0 to num_pins - 1
pinMode(pins[i], OUTPUT); // Set each I/O as an output
}

}

void loop() {
  {
int i;

for (i = 0; i < num_pins/2; i++) { // Loop through each pin state
digitalWrite(pins[i], HIGH); // Turn ON one LED
digitalWrite(pins[i+num_pins/2], HIGH); //Then turn OFF its opposite LED

//Now turn the previous LEDs OFF

if (i == 0){ //Turn OFF the last LED from the previous go around
digitalWrite(pins[num_pins-1], LOW);
} else{
digitalWrite(pins[i-1], LOW); // Turn OFF each previous LED
}
digitalWrite(pins[(i+num_pins/2)-1], LOW);

delay(timer); // Halt for a while!

}

}

}
The following diagram represents the entire hardware setup for the signal wand light. As you can see, the build comprises an Arduino Nano(v3), a total of six LEDs, and a 6F22 9V battery.
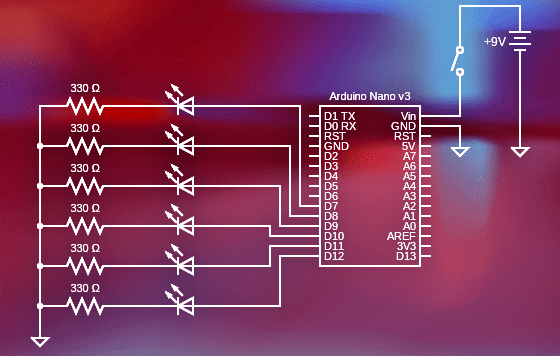
Obviously, Arduino Nano is a small microcontroller board suitable for portable electronics projects. With the VIN pin you can supply the Arduino Nano with a voltage between 7V-12VDC to run it on a battery pack. Each I/O pin of Nano supports a maximum current of 40mA but note that it’s not safe to draw 40mA current over each pin because of certain system limitations. In this tutorial, you learn everything you have to know about the Arduino Nano https://diyi0t.com/arduino-nano-tutorial/
This time I took a different step to test the project idea i.e., rather than using an original hardware setup, I simply simulated my design through the popular online Arduino simulator WokWi. You can not only try that simulation, but also download the project files through this link I created https://wokwi.com/arduino/projects/306417916703670849
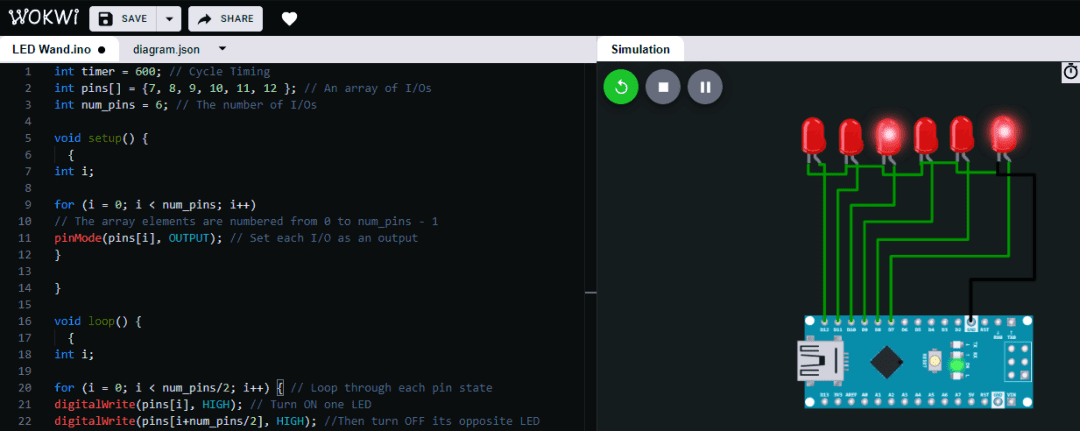
As you’re well aware, simulation helps you to evaluate the behavior of a design before building an actual electronic device. This process can lead to cutting costs on pricey parts and replacing impractical components with better-performing substitutes. By viewing a proposed design in a software program before building it, you can also make modifications that enhance overall efficiency. Read more http://www.cs.mun.ca/~donald/msc/node6.html
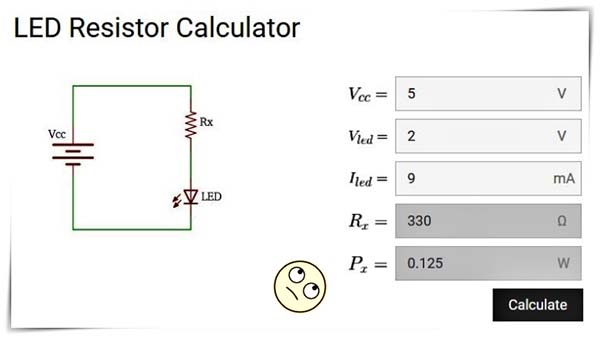
Well, the funny thing is that you will see LEDs without series resistors in my simulator window. Let it stand there, but in fact, you must use an appropriate resistor for each LED as clearly shown in the scheme above. However, the colour (and size) of the LEDs is not very decisive, so just use the types you like or want.
This is a simple online calculator that will help you find the nearest/best value of resistance and power of resistor for different types of LEDs https://blog.podkalicki.com/tools/led-resistor-calculator/
Now on to the enclosure, let’s admit it, the outer shell that encloses an electronic gadget making it attractive and user-friendly. Ideally, since you’ve a good insight of what’s going inside the box, you can design around it with no (or few) mistakes. Here’s an elaborated guide to making electronic project enclosures https://www.ponoko.com/blog/how-to-make/making-enclosures-for-electronics-with-ponoko/
At last, if you have any questions or suggestions, you’re welcome to drop them below in the comments box and of course, feel free to share this little post with your electronics-loving friends. Knowledge is power, and we can spread it as widely as we can.