Love the ancient art of paper folding – Origami?. Traditional origami consists of folding a single sheet of origami paper (square paper often with a colored side) into a sculpture without cutting, gluing, taping, or even marking it. Its name derives from Japanese words ori (folding) and kami (paper). Creative minds from several countries helped shape origami into the practice it’s today.
Why not blend electronics with arts and crafts? It’s obviously a friendly way to learn, design and create your own spectacular electronics artistry! Very recently I decided to use simple electronics to try out a couple of gleaming techniques that I’ve seen in other origami projects that I thought were really fantastic. Well, welcome to my LED Origami world, where little lamps get knotted in folded papers!
Simple LED Origami
Very few components are required for simple LED origami projects. The little list includes low-profile batteries, small light-emitting diodes, and thin flexible wires. Apart from origami paper, you may also need certain tools and accessories like scissor, soldering iron, glue gun, electrical tape, etc.
For a quick start, you can make a paper butterfly by following the luculent instructions available here https://www.redtedart.com/how-to-make-an-origami-butterfly-simple/

Thereafter you can add some small LEDs to the paper butterfly. For the power source, simply use one ‘origami-friendly’ lithium battery – CR2032. Remember, you need to insert appropriate current limiting resistor (series-resistor) between the battery and each LED. In order to find the necessitated resistance value the right way, try out this online LED series-resistor calculator https://www.petervis.com/electronics/led/led-resistor-calculator.html
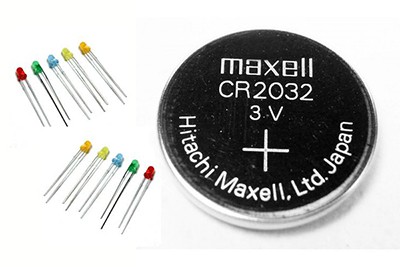
A little aside: According to one Energizer® product datasheet, their CR2032 (3.0V nominal) “Lithium Coin” cell (not showed here) has a typical capacity of 235mAh (on continuous discharge at 21ºC under 15KΩ load to 2.0V end-voltage). So you’re undoubtedly playing with a ‘weak’ power source – never overdrive it!

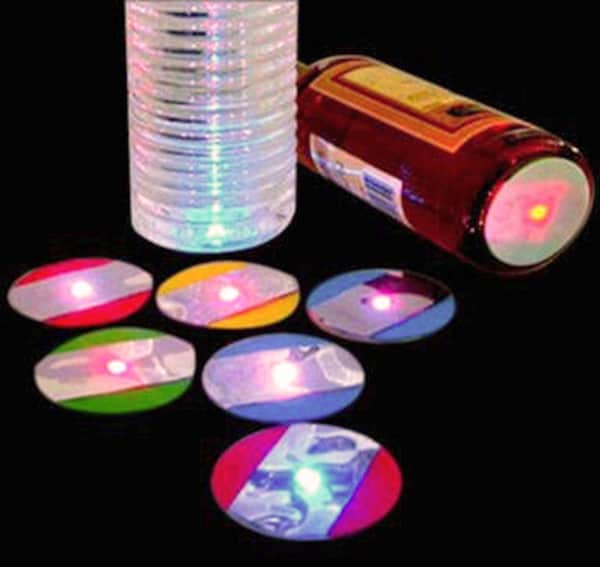
Another remarkably attractive way is to employ standalone LED stickers in place of the ordinary LEDs. Usually such cheapo LED stickers out of China have inbuilt battery so you don’t need anything to boot.
Better LED Origami
While I was in search for cheap LED stickers useful for better LED origami, I happened upon a new type of LED stickers i.e. vibration activated light stickers!
Coincidentally I found a fabulous LED origami project in Makezine (https://makezine.com). It’s an adorable “jumping origami frog” with LED eyes (https://makezine.com/projects/fold-up-jumping-origami-frog-led-eyes/) – when you press the frog down, its eyes begin to glow, and when you release the frog, it leaps across the table (the lights should go out as the frog leaps forward). If you’re lucky, it may even do a little flip in the air!
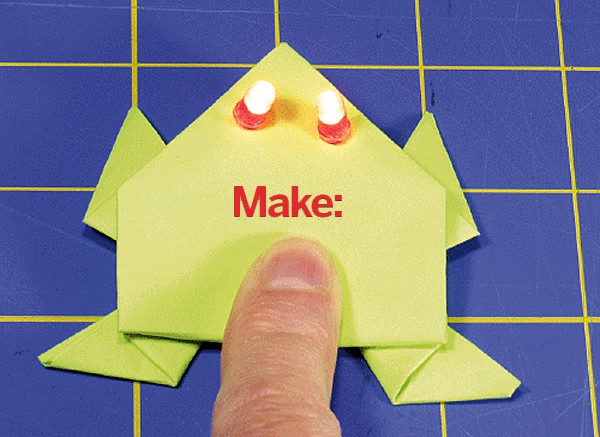
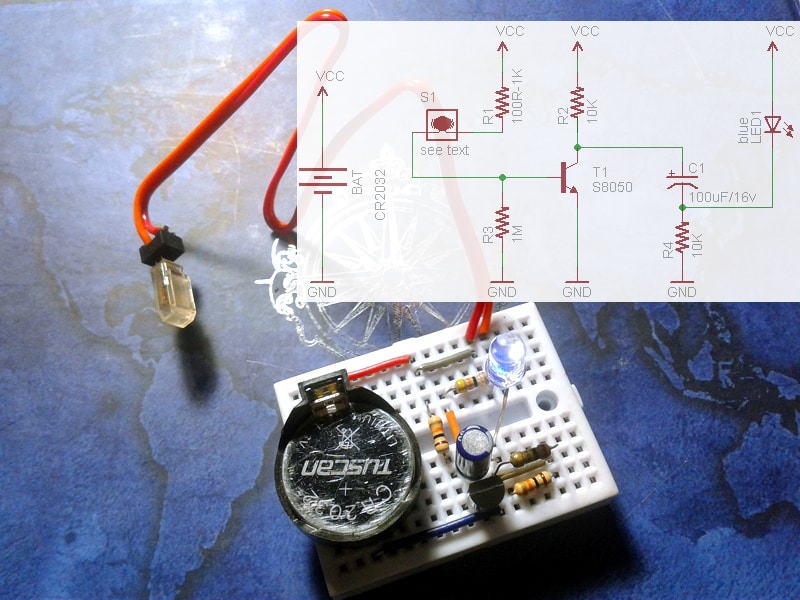
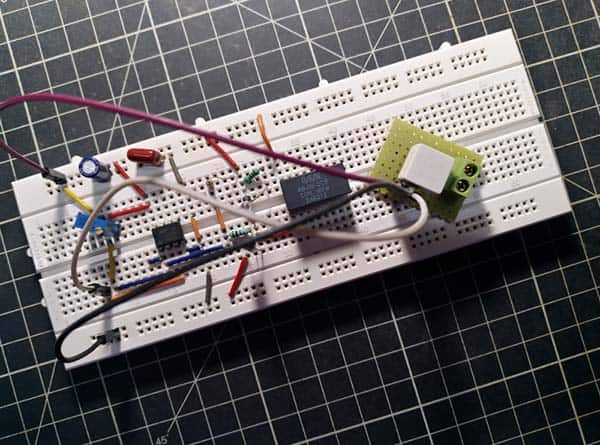
Honestly, I was very much impressed by this idea and firmly resolved to make an LED origami creature with burning eyes. On that point, I made a simple LED driver circuit which can be powered from a single AAA battery (1.5V) to drive a standard blue LED (or LEDs). The circuit (shown below) momentarily lights up a blue eye (LED1) from a single 1.5V AAA battery when the normally-open switch (S1) at the base of the transistor (T1) closes. I used blue LED to hand, but the type is not critical, my generic blue LED has a nominal forward voltage (VF) of 2.5V, the highest output voltage on the circuit is around 3.6V.
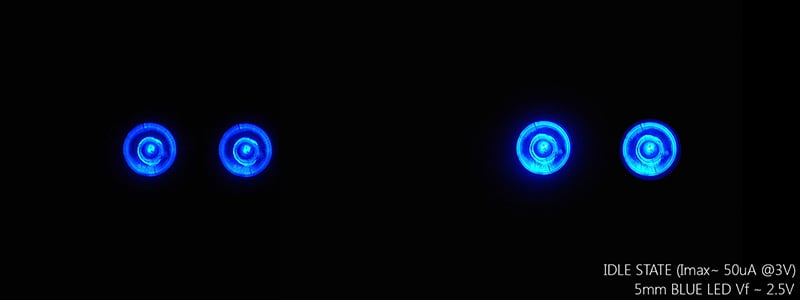
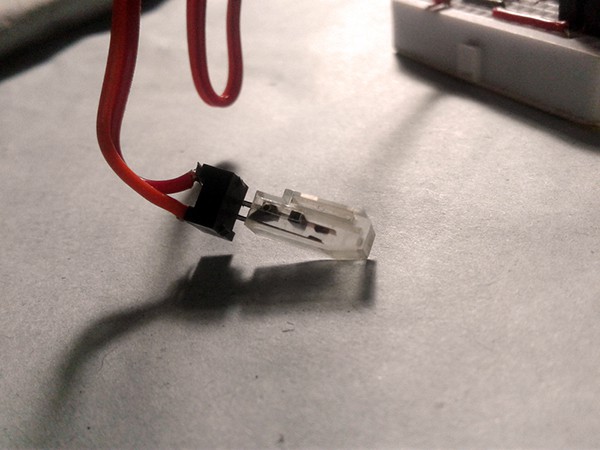
At first I tested the breadboarded circuit with a vibration switch (SW-18015P), later it’s replaced with a micro leaf switch as I found out that it’s a better candidate for my ‘press-to-light up’ paper art project. Further, I substituted the 1.5V battery with a CR2032 coin cell. The revised (3V) circuit too draws very low current when not being activated (~50uA) but a higher current peaking at about 35mA as the LED flashes.
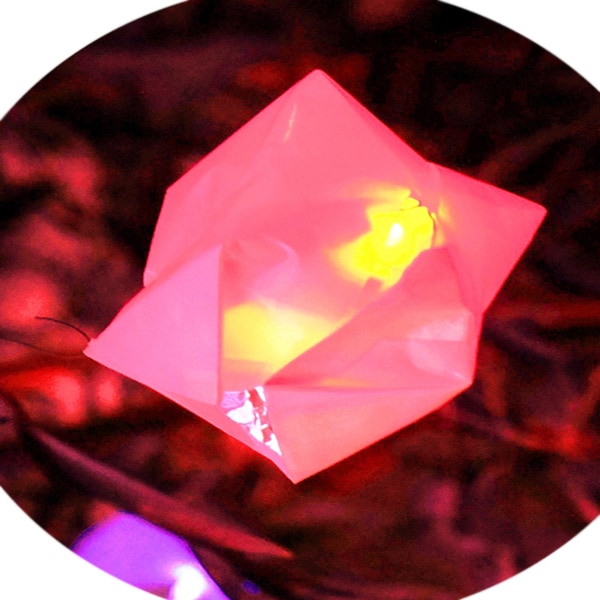
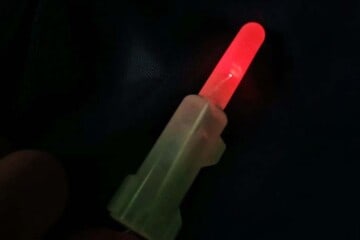
With the 3V battery, I can see a feeble glow in the water clear 5mm blue LED in idle state (look below), and a most lustrous blue flash when fired by the micro leaf switch. Within a moment after that blue spark, the LED retains its feeble shine. A worthy eye for an origami kitty-cat!
Getting back to the driver electronics, the little circuit is in fact a great LED charge pump in which one 100uF polarized capacitor (C1) charges slowly through two 10K resistors (R2 & R4) until it reaches battery voltage. The blue LED (LED1) has an insufficient voltage across it to conduct (if with a 1.5V battery, else there might be a faint light on 3V input) and the S8050 transistor (T1)has no bias current so the circuit stops drawing any current except slight leakage. When the activation switch (S1) closes, it passes enough current to saturate T1 which lands it’s collector voltage close to 0V, thus makes the negative side of C1 go to the battery voltage below 0V so the total voltage across LED1 is momentarily two times the battery voltage making it flash. The flash is quite bright and lives on about 500-800mS (as observed in my prototype).
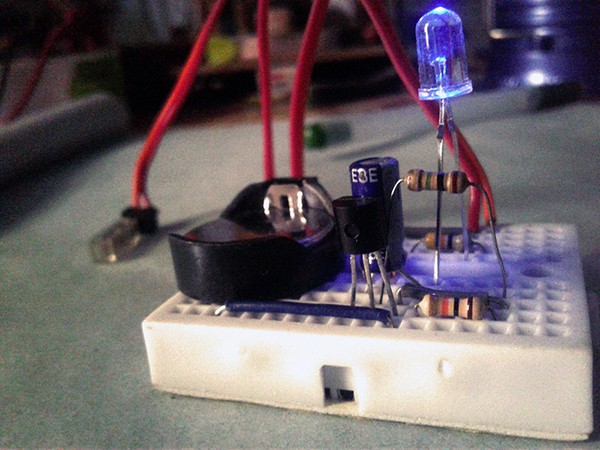
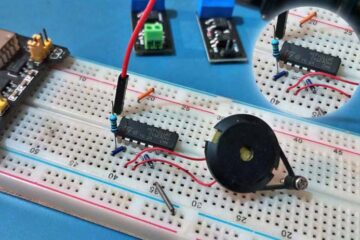
This is the closeup of the micro leaf switch used in my first breadboard prototype. I lifted it from the tape deck of an of age audio cassette player. You can still buy it online or simply use two-minute copper tapes/foils to make a crude ‘press-to-on’ momentary switch for LED origami!
Going Further…
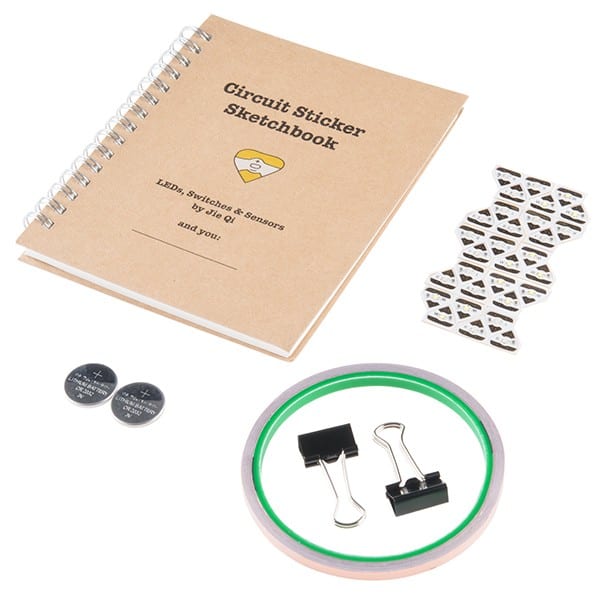
I’ve a plan to buy “Chibitronics Circuit Stickers” for my advanced papercraft/origami projects. As you may noticed, Chibitronics (https://chibitronics.com) makes special circuit stickers and other tools for paper circuits.
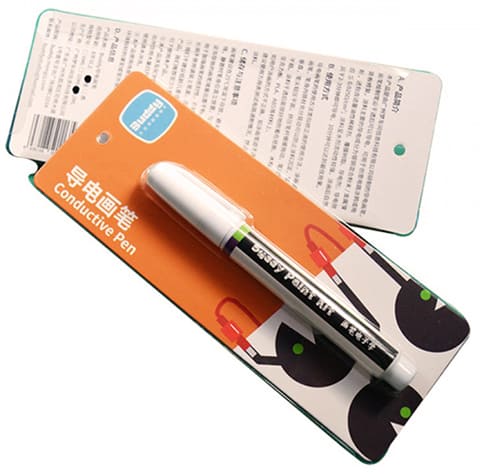
Another similar (already trialed) idea is the use of a conductive ink pen (or ink) for making beauteous paper circuits. A conductive ink pen allows you to draw circuits instead of soldering or wiring them to a breadboard.
The main conductive component of the conductive ink pen is a silver-copper mixed powder, which also contains an appropriate amount of an oily thinner, a film-coated resin, and a conductive agent which can conduct electricity after being air-dried after painting. This is the ($6) Circuit Scribe Conductive Ink Pen (https://www.makerfabs.com/conductive-ink-pen.html).
Festal decoration that lights up!
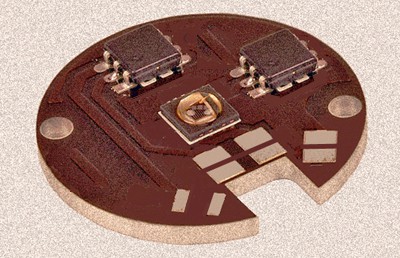
Last month I started designing a new round LED PCB with an integrated driver and power source (see the artwork below). It’s not really too related with LED origami it could be used however to do some magic with papercraft and e-garments. Perhaps, it can be used to sew a circuit you can wear. I am hoping to use it as a starting aid to do some simple wearable electronics projects to teach basics of e-textiles.
Finally, I will continue to use this space as a showcase to display a few e-textiles/origami projects. So stay here with me for weekly updates. Also I would love to see what you are up to this time. Doing your own wondrous LED origami projects? Tag me on social media and use the comments box available here. I’ll be watching!
Credits & References
good informations & clear ideas
Mohammad Ali Mostafa: Thank you, I really appreciate you taking the time to share your thoughts ⭐