A stroboscope is basically a pulsed light at a known frequency. When the frequency of a rotating object matches that of the stroboscope, it appears to stand still. It is possible for the object to be propelling at a multiple of the basic strobe frequency as well. Before I get into the revised stroboscope thoughts and such, I’d like to draw your attention to a couple of projects published here before now!
- https://www.codrey.com/electronic-circuits/led-strobe-light-diy/
- https://www.codrey.com/electronic-circuits/led-strobe-primer-part-1/
Okay, this time I’m going to show you an adjustable oscillator scheme tailored for the do it yourself stroboscope project – simply an Arduino based adjustable stroboscope. The Arduino Stroboscope project presented here will produce carefully timed pulses of light in order to make a rotating object appear still. The setup employs a standard BJT to drive a high power white LED, which serves as the device’s light source. The strobe light can be controlled via a common linear potentiometer.
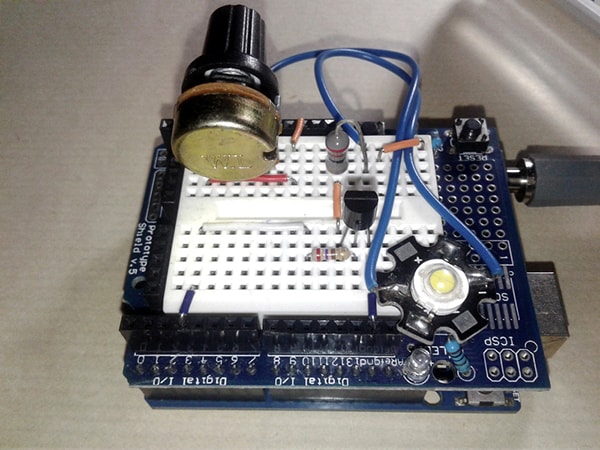
This is the external hardware setup scheme tailored for the Arduino Uno microcontroller board.
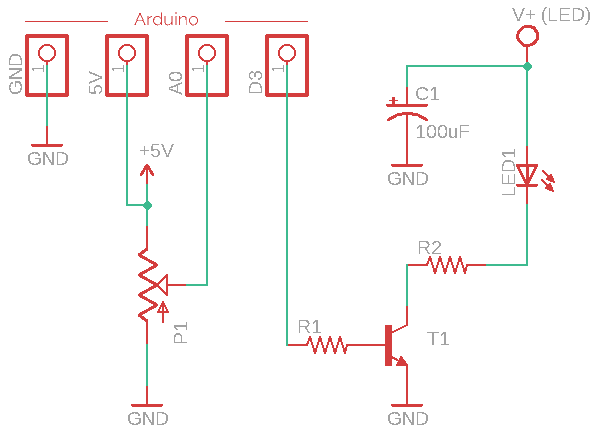
| P1 | 10K LIN |
| R1 | 270Ω |
| R2 | See Text |
| T1 | S8050 |
| LED1 | White 1W |
| ARDUINO | UNO r3 or NANO v3 |
And, this is the little code – Arduino Sketch (v0) – for the adjustable LED stroboscope.
const byte potIN = A0;
const byte strobeLED = 3;//D3
void setup() {
pinMode(strobeLED, OUTPUT);
}
void loop() {
int potValue = analogRead(potIN);
int refreshRate = map(potValue, 0, 1023, 100, 1);
digitalWrite(strobeLED, HIGH);
delayMicroseconds(refreshRate);
digitalWrite(strobeLED, LOW);
delayMicroseconds(refreshRate);
}
As can be seen in the below oscillograms, the code lets you adjust the strobe light frequency from around 2.6kHz to 5.4kHz (duty cycle in 29% – 4% range).

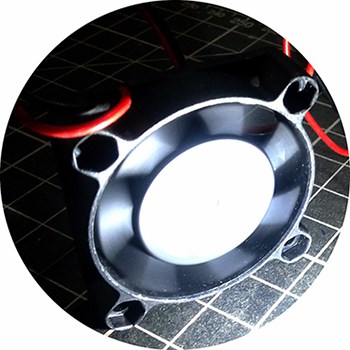
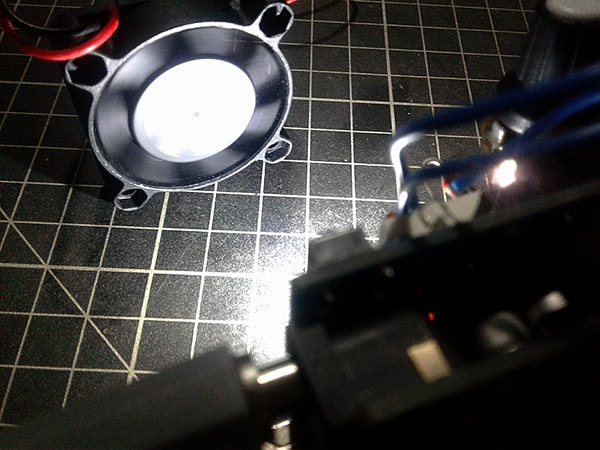
Frankly, I wrote the above code to start my play with some high-speed cooling fans. When the strobe frequency matches the rpm of the fan, the blades almost seem to stand still.
However, you can decrease the strobe light frequency by tweaking the code in many ways. Following is a crude idea to get about 5Hz to 455Hz frequency range (50% – 46% duty cycle).
const byte potIN = A0;
const byte strobeLED = 3;//D3
void setup() {
pinMode(strobeLED, OUTPUT);
}
void loop() {
int potValue = analogRead(potIN);
int refreshRate = map(potValue, 0, 1023, 100, 1);
digitalWrite(strobeLED, HIGH);
delay(refreshRate); //Milliseconds
digitalWrite(strobeLED, LOW);
delay(refreshRate); //Milliseconds
}
Side note: The analogWrite() writes an analog value to a pin. Can be used to light a LED at varying brightness or drive a motor at various speeds. After a call to analogWrite(), the pin will generate a steady rectangular wave of the specified duty cycle until the next call to analogWrite() (or a call to digitalRead() or digitalWrite()) on the same pin. In Arduino Uno, Nano, Mini boards, the PWM pins are 3, 5, 6, 9, 10, 11, and the PWM frequency is 490Hz (pins 5 and 6 = 980 Hz). For more https://www.arduino.cc/en/Tutorial/PWM
Now recall that we can’t rig up a more adept stroboscope with the ‘orthodox’ Arduino pulse width modulation trick, because it only generates a constant frequency (~488 Hz) and varies the duty cycle (what we need is a variable frequency with a constant pulse length)!
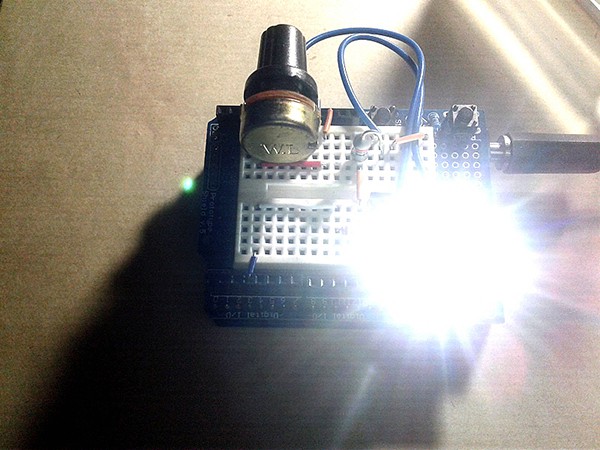
I tested my Arduino assembly with the help of an external 9V/750mA regulated DC power supply and routed the same 9VDC to V+(LED). The white LED (LED1) was slightly under ridden at that time with a 22Ω/2W series resistor (R2). Anyway, it worked great!
WARNING! Flashing light, especially in the lower frequency range (5Hz) and upward can induce seizures in people subject to photosensitive epilepsy. Further, flashing lights can trigger a migraine attack. So it’s highly advised that people prone to these effects must avoid stroboscopic lights and related experiments/projects.
Next Project? Stroboscopes are used in many disciplines to measure speed. My next plan is to build an improved stroboscope (with a digital readout) to check the speed of some ‘slow walkers’ like microwave turntable motors and electric lazy Susans. I will document the build and post the final results in the near future!