If your family loves stargazing, that’s great because here you can find a quick idea to make your inexpensive own moon lamp for your kid’s bedroom. All you need is a bunch of easily available parts and ofcourse an artistic workmanship. Well, let’s get started!
Gathering requisite components
Following is the list of key parts what you need to start the project.
- 1mm Plastic Optical Fiber (POF) cable
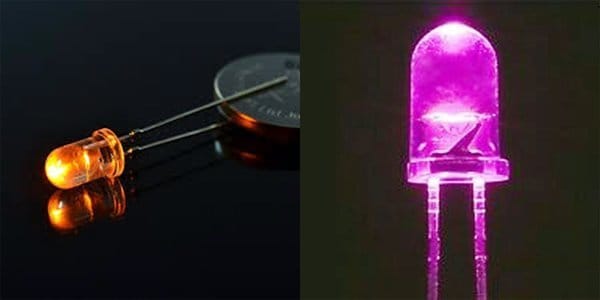
- 5mm Amber (or Pink) LEDs
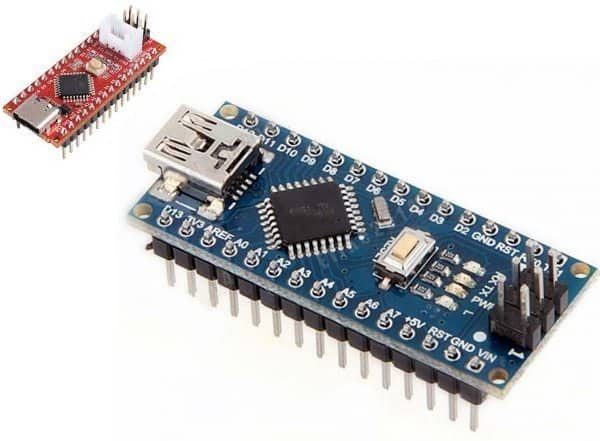
- Arduino Nano or Seeeduino Nano
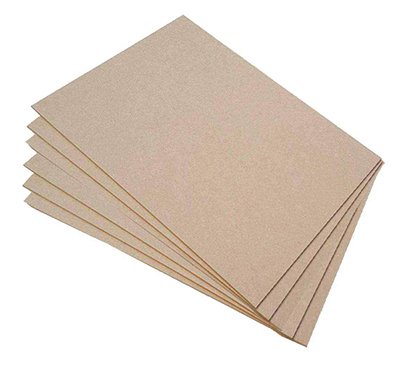
MDF (medium-density fiber) board or Cardboard or Pinewood Board
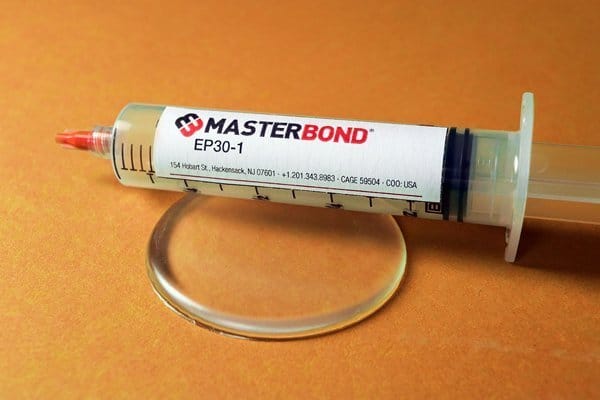
Next in this list is an optional item – the fiber optics adhesive, left to personal choice!
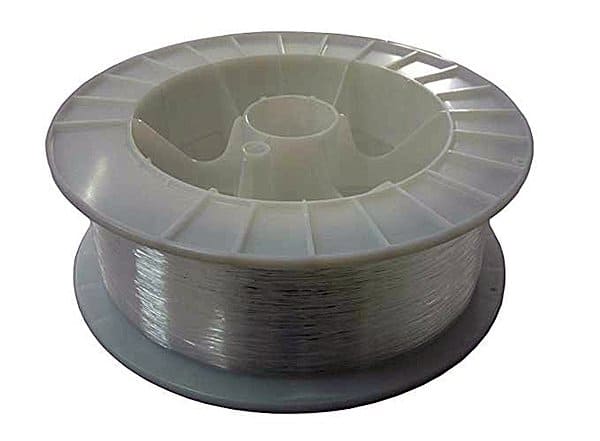
What is Plastic Optical Fiber?
Plastic Optical Fiber (POF), which is a consumer short-distance fiber for electronic appliances and motor vehicles, typically uses the material PMMA (acrylic), a general-purpose resin as the core material, and fluorinated polymers for the cladding material. In large-diameter fibers, 96 percent of the cross-section is the core that facilitates the transmission of light. Since there’re also many other types of optical fiber cables, it’d be better to go through this article to learn more about its basics www.fiberopticshare.com/plastic-optical-fiber-vs-glass-optical-fiber.html.
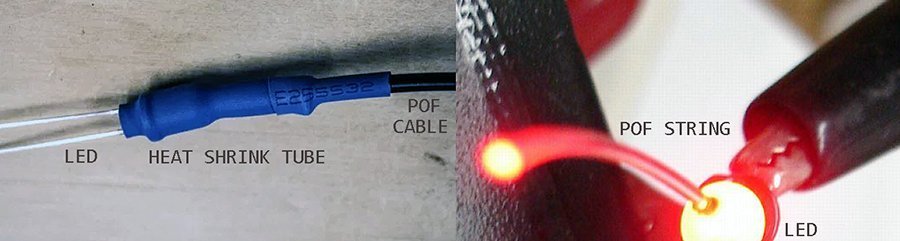
How to connect POF cable to LED?
Using a 5mm (or 3mm) LED with matching heat shrink tubing and adequate fiber to fit is very common in hobbyist modeling applications. However, if your application needs just a single thin string, you can carefully drill one hole in the LED, and then cement the string into the hole rigidly. The ‘free’ end of the string can then be mushroomed out with the help of a heat source if in demand.
Preparing the artifact
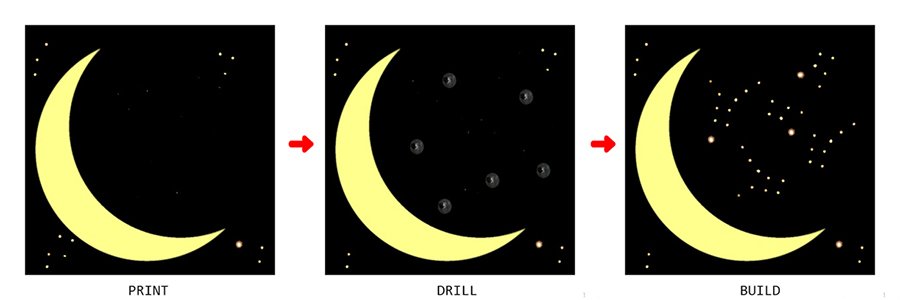
This is the craftiest part of this project. First of all, draw your favorite constellation (or download an image from web) and print it in actual size (for example 30x30cm). Next, paste it onto the MDF board (readied in same shape and size) without making wrinkles. And then you can use a reamer to punch suitable size holes in wanted spots. Below you can see a pointer to do this, anyway, simply consider it as a crude illustration.
Finally, you need to attach your POF strings to the frame through the designated slits. It may be a good idea to glue the strings to their respective holes, but keep all free ends intact. Remember to firmly attach small clips/pipes at the back of the frame for the POF strings to run through. Ultimately, the light guide assembly might appear like a plastic fiber optic tree (with one single light source held beneath the bunch of fibers – light injected into the core of the fiber remains trapped until emerging from the opposite end) as you can see in the below illustration (rear of the frame). Yes, this is how it should look like when you get the plastic optical fibers in place!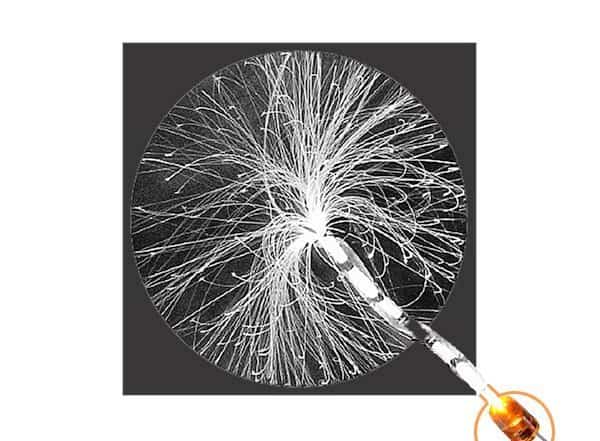
You can buy most of the materials from online storefronts or any electronic hardware store. If you can’t find the suitable POF itself feel free to raise an enquiry here in the comments box.
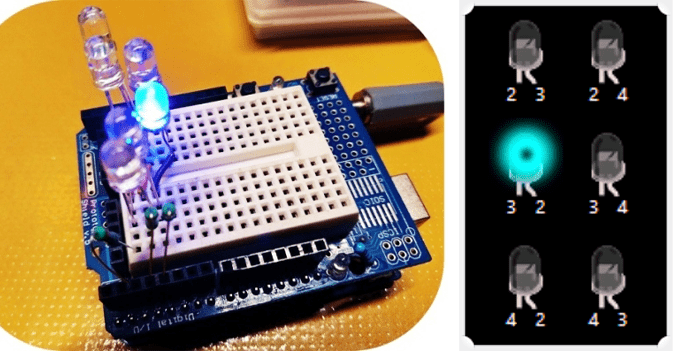
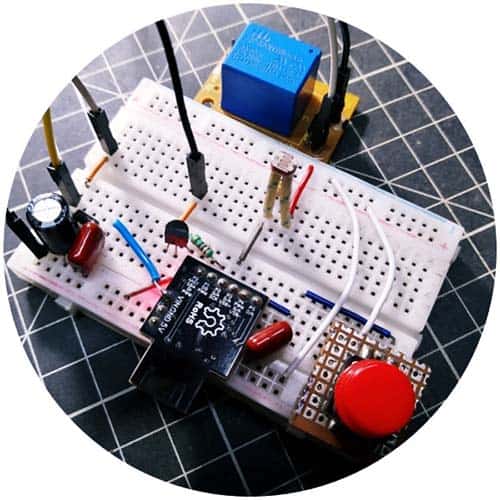
Arduino’s role on this theme
Admittedly a light source (LED) is all what needed to light up the POF strings. If so, just a current limiting resistor (56Ω @ 3VDC supply, for example) will be enough to complete the background electronics. However, I’m going to build a little luxurious electronics version through the Arduino microcontroller as it can provide some design flexibility.
The code given here is in fact a simple Arduino sketch to help you get off the ground. Anyway, you can change it later to simulate the real twinkling star effect i.e. by means of a clever pulse width modulation (PWM) code (see dozens of such projects published in this website).
int stars[3] = {11,12,13}; // LEDs - See Notes!

void setup(){
  for (int jj; jj<sizeof(stars)/sizeof(int);jj++){
    pinMode(stars[jj],OUTPUT); // D11-12-13 as Outputs
    delay(10); //Initial Delay
  }
}

void loop(){
  digitalWrite(stars[random(0,sizeof(stars)/sizeof(int))],HIGH);
  delay(random(20,100));
  digitalWrite(stars[random(0,sizeof(stars)/sizeof(int))],LOW);
}
Did you know? Arduino can natively cycle through 14 different LEDs connected to digital pins D0 to D13. In this code synopsis I took digital pins 11to 13 but used only D12 to drive the single amber LED (wired though a 150Ω resistor).
Yup. It’s time! Go to your Arduino IDE and upload the above code to your Arduino board, and put the entire hardware setup (including the battery pack) in a suitable enclosure. Remember to tape the enclosure to the back of the frame. Finally place your completed moonlight on the showcase or hang it on the window, turn down the room lights, and watch the starry sky. Happy Gazing!
See these random snaps of my first experiment with a 0.5mm POF string and amber LED.

Why Seeeduino Nano?
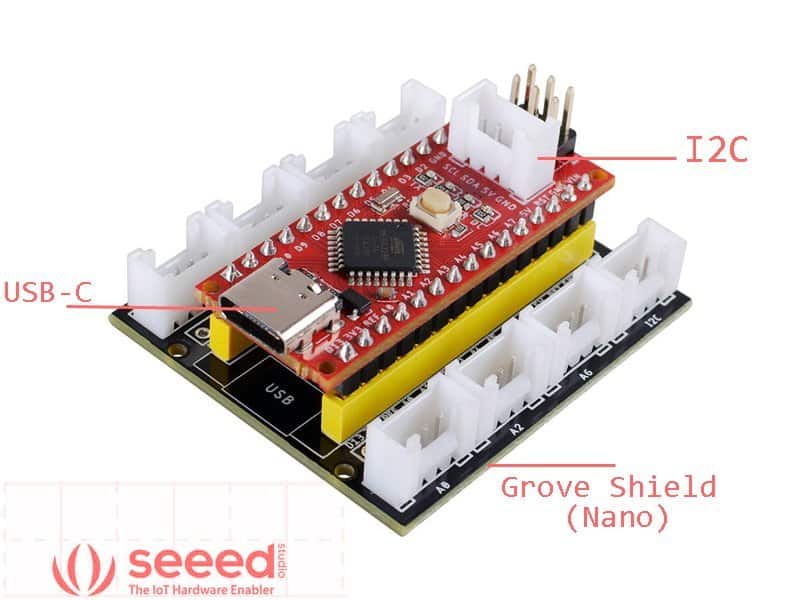
The Seeeduino Nano (http://wiki.seeedstudio.com/Seeeduino-Nano/) from Seeed Studio is a very compact microcontroller development board built around the Atmega328P (16M) 8-bit AVR microcontroller. Seeeduino Nano offers the same features and high-quality experience as the Arduino Nano in less than half the price. The microcontroller board has the same header pin out as the Arduino Nano, including 14 digital I/O (6 PWM) and 8 analog I/O. Furthermore, the Seeeduino Nano has also made some hardware improvements compared to the Arduino Nano, that is to say, changed the Mini-USB into Type-C, and included one Grove I2C connector so that we can play with hundreds of sensors and actuators simply by plugging with the help of the Grove system.
While I was in the middle of this moon light project, I’ve the option of either using the standard Arduino Nano, or the Seeeduino Nano. In the end, Seeeduino Nano was the choice I made as I intend to experiment with the newly arrived gift from Seeed Studio!
Now the same ‘Nano’ thing, except that what I made is a miniature of the construct with heat-shrinked plastic fiber optic strings, illuminated by the 5mm amber LED connected to D12 of Seeeduino Nano through a 43Ω resistor. Basically a primitive experimental assembly!

Nevertheless, you can prepare multiple (independent) plastic optical fiber strings because the Nano microcontroller here offers three distinct active outputs D11-D12-D13.
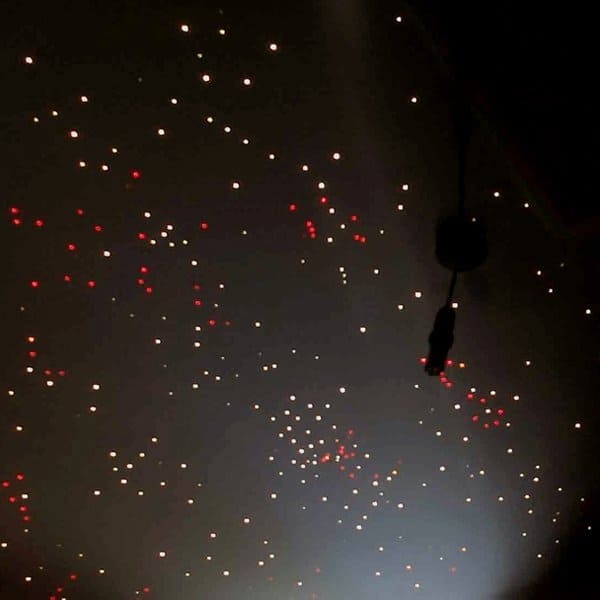
Furthermore, note that the same idea can be used to set up fantastic star ceilings (something like the one shown in the below photograph), or star maps. In any case, you should make a clean flat cut on the LED side of each fiber strand using a service knife, and then secure the fiber strands by heat-shrinking them tightly to the ‘sweet spot’ on the face of the LED.
Courtesy: https://makezine.com , https://electronics.stackexchange.com , https://www.thefoa.org