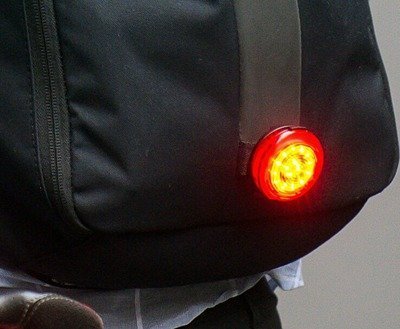
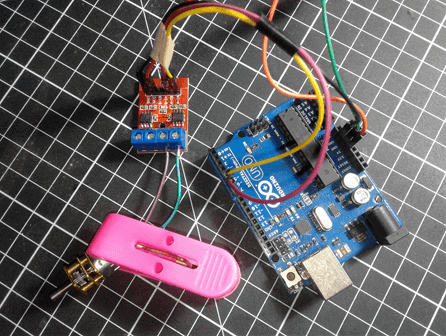
Let me start with the photo of a cheap Backpack LED safety light from China. It’s undoubtedly a beautiful and pretty useful safety gizmo for walkers and wheelers. The battery operated red LED ring used in the device inspired me to create my own backpack safety light but with some betterments. Coincidentally I found a vast range of NeoPixel LED rings at an Indian online store that fits correctly into the puzzle!
NeoPixel LED?
NeoPixels are Adafruit’s brand of individually addressable RGB pixels that communicate over a single-wire interface. The minimal wiring method makes them good for succinct projects like the one introduced here. The NeoPixel combines a dedicated controller, specifically the WS2812 produced by World-Semi, with three individual LEDs – one red, one green, the other blue.
NeoPixels usually come in strips, on shaped boards, and even individually. It’s worth stating up front: Always handle NeoPixels with great care as they are delicate items, sensitive to both static electricity and to voltage spikes. In principle, NeoPixels integrate a programmable constant current controller chip with an RGB LED in a single package. Each LED has one data input and one data output pin. By linking the data output pin of one device to the data input pin of the next device, you can daisy chain the LEDs to theoretically arbitrary length. As of now, the most popular (and newer) version of WS2812 is the 4-pin WS2812B (the original first one has 6 pins). See datasheet – https://www.kitronik.co.uk/pdf/WS2812B-LED-datasheet.pdf. Refer this one as well https://cdn.sparkfun.com/assets/learn_tutorials/1/0/5/WS2812B_VS_WS2812.pdf
Concisely, WS2812B has a better physical and technical structure than WS2812, and one spotlit advantage of WS2812B is that its RGB KED chip has a higher brightness and color uniformity than WS2812. Also there’s a reverse power supply input protection circuit in WS2812B.
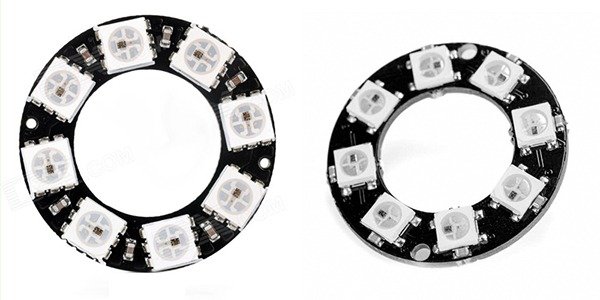
NeoPixel LED Ring
Now we can find various WS2812 and WS2812B NeoPixel RGB LED rings in the market (both rings are pretty stunning indeed).
Here’s the typical application circuit of WS2812B. According to World-Semi, the data transfer protocol use single NZR communication mode.
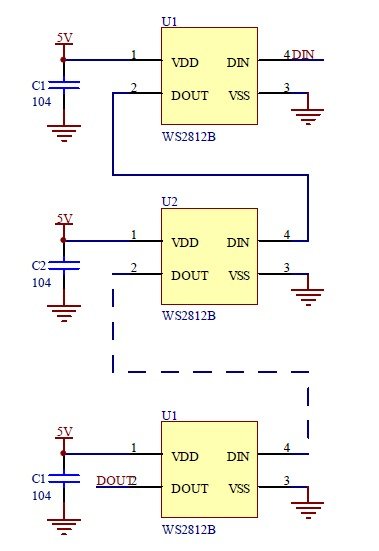
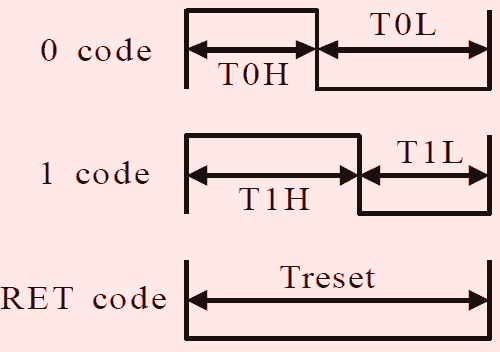
Since the data transfer protocol use single NZR communication mode, after the pixel power-on reset, the DIN (control data signal in) port receive data from controller, the first pixel collects initial 24-bit data, then send to the internal data latch, the other data is sent to the next cascade pixel through the DO (control data signal out) port. See the relevant sequence chart below.
The Backpack Safety Light
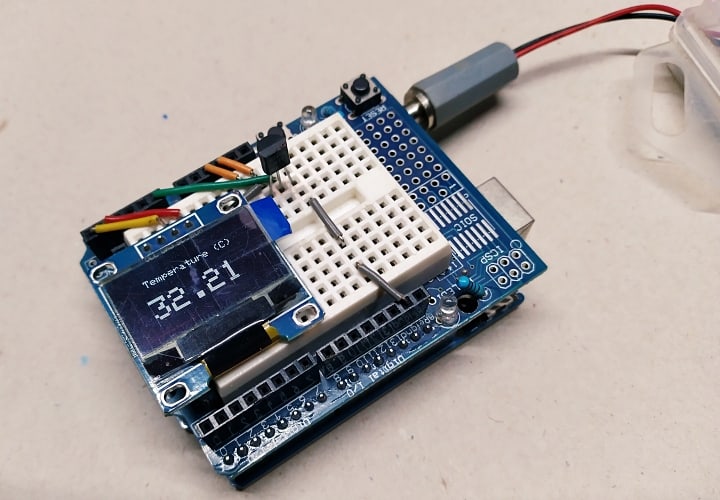
My backpack safety light project comprises one Digispark Attiny85 development board and a WS2812B NeoPixel RGB LED ring (with eight SMD5050 LEDs). I always choose Digispark (or bare Attiny85) over Arduino for minuscule microcontroller projects because it’s more economical and comfortable in many respects. See the merest hardware setup:
![]()
&The code/Arduino sketch (I recommend snooping through the lines of this sketch, do some tinkering, and see what happens):
/*
 * Backpack NeoPixel LED Safety Light
 * Hardware: Digispark ATtiny85 Development Board
 * & WS2812B NeoPixel RGB LED Ring (8-Bit)
 * T.K.Hareendran/2019
 * https://www.Codrey.com
 */

#include <Adafruit_NeoPixel.h> // NeoPixel Library

#define DAT 0 // PB0 to DI (control data signal input) of the NeoPixel Ring
#define N_NEO 8 // Number of LEDs = 8-Bit LED Ring

Adafruit_NeoPixel strip = Adafruit_NeoPixel(N_NEO, DAT, NEO_GRB + NEO_KHZ800);

/* Number of Pixels, Data Pin, GRB Bit stream, 800KHz Bit stream */

void setup() {
  strip.begin();
}

void loop() {
 track(strip.Color(255, 0, 0)); // Red
track(strip.Color(0, 255, 0)); // Green
track(strip.Color(0, 0, 255)); // Blue
}

static void track(uint32_t c) {
  for(uint16_t i=0; i<strip.numPixels()+4; i++) {
      strip.setPixelColor(i  , c); // Draw new pixel
      strip.setPixelColor(i-4, 0); // Wipe off pixel a few steps backward
      strip.show();
      delay(25); // Take Break
  }
}
Next is the random snap of my dirty experiment setup (remember to watch the quick test video):
![]()
It’s best to build the hardware into a beautiful enclosure that also gives enough room for the battery pack. Make sure that the LED ring can deliver its light unimpeded to its environment.
In addition, don’t forget to include a small power supply switch on the back. I could probably come up with another automatic (and multi-mode) backpack safety light, but greater lack of free time makes this just another project I’d like to find time to work on. Therefore I thought I’d mention it to yourselves, to see if it might be the sort of thing you would like to think about and possibly come up with a cheerful model!
NIce project
Shashi Kiran: Welcome, and Thank You!
Perhaps I can share another related post in near future solely based on BlinkM. It’s a networkable and programmable “smart” RGB LED. So please stay tuned.