This post showcases an example project I made to help you add a terrific signal light and siren to almost all toy cars.![]()
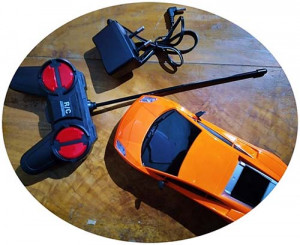
As we all know, cheap remote control (radio control) toy cars (R/C Toy Cars) usually do not have a beacon light at the top. Recently, I bought such a toy for some hacking, in which there’re only two white LEDs in front as the headlight. That’s when the idea of attaching our own beacon light to toy cars came to the fore. Simply put, expansible signal light and siren for your lovely toy cars. That’s it!
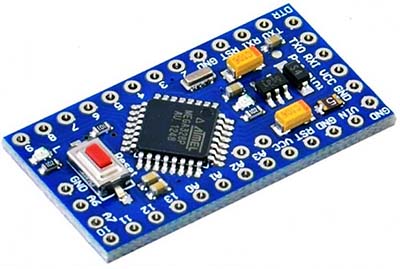
So, let me share my toy car signal light and siren concept based on an Arduino Pro Mini (5V/16MHz) microcontroller. In fact, this project is so quick and easy that you can do it in mere minutes if you know what you’re doing!
Let’s start with the code (Arduino Sketch)…
int LED1 = 7; //Red LED
int LED2 = 8; //Blue LED
int Buzzer1 = 9; //Piezo-Buzzer (see notes)

void setup() {
  pinMode(LED1, OUTPUT);
  pinMode(LED2, OUTPUT);
  pinMode(Buzzer1, OUTPUT);
}

void loop() {
tone(Buzzer1,370); //(F#4 note)
  digitalWrite(LED1, HIGH);
  digitalWrite(LED2, LOW);
 delay(500);

 tone(Buzzer1,415); //(G#4 note)
  digitalWrite(LED1, LOW);
  digitalWrite(LED2, HIGH);

  delay(500);
}
To upload the code to Pro Mini, a USB-TTL adapter is required. Luckily, there’re many types of USB to Serial adapters available. Here you can find some valuable pointers https://nerdytechy.com/arduino-pro-mini-pinout-and-guide/.
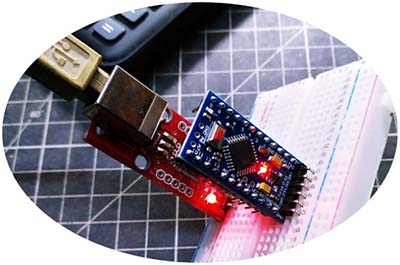
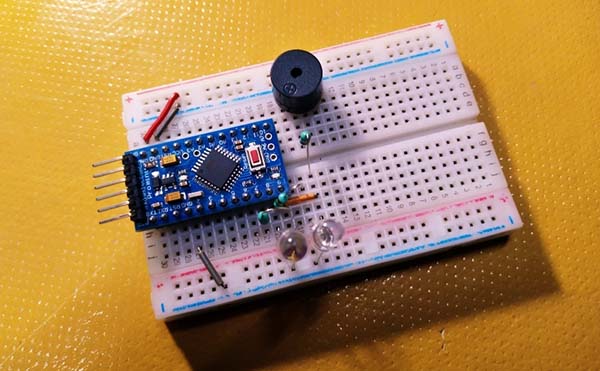
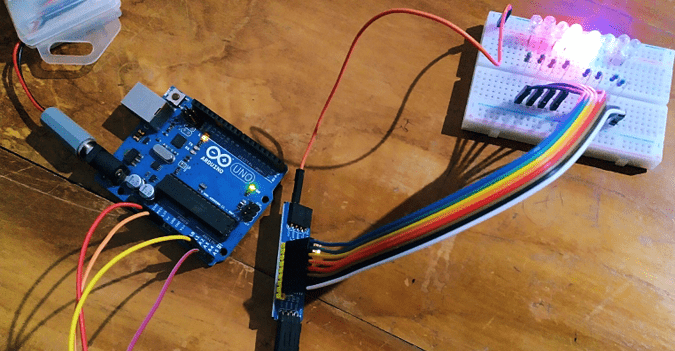
Since I wanted to leave jumper wires out, I placed both the Pro Mini and the USB to Serial module on a mini breadboard. Even though they’re a bit too close for comfort on the breadboard, it’s a great idea that worked really well. The below image is just for example purposes.
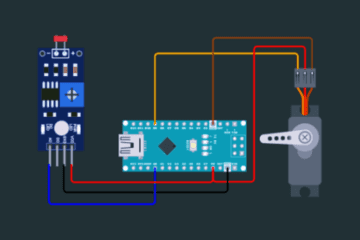
Now, to the hardware setup diagram…
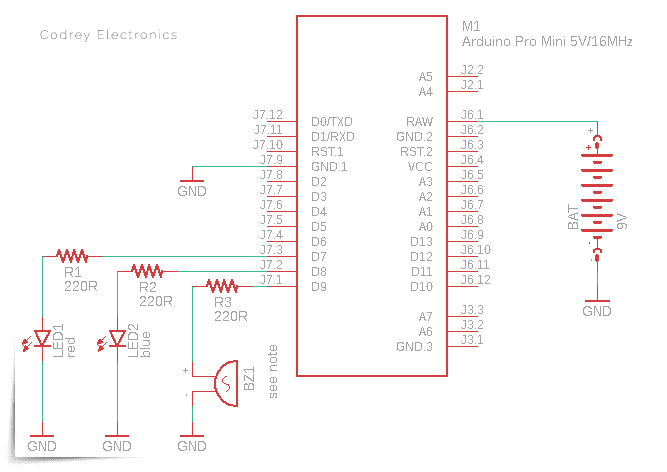
And, the parts you need to gather:
- Arduino Pro Mini 5V/16MHz x1
- Red LED x1
- Blue LED x1
- 220Ω ¼ w resistor x3
- 5V/16Ω Magnetic Buzzer (also known as passive piezo buzzer/speaker)
Look, the Pro Mini board doesn’t have a barrel jack (or any other quick way to connect a power supply). So, carefully pick a dc power source that suits your application at first. If you’ve a power source that’s greater than 7V (but less than 12V) you can connect it to the RAW pin on the Pro Mini (5V/16MHz). This pin is akin to the VIN pin on the Arduino Uno. The voltage applied thru this input is regulated to 5V before it gets to the processor.
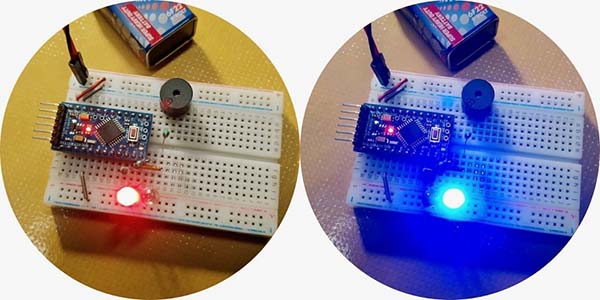
So, here’s what you’ve all been waiting for…my quick prototype on a mini breadboard.
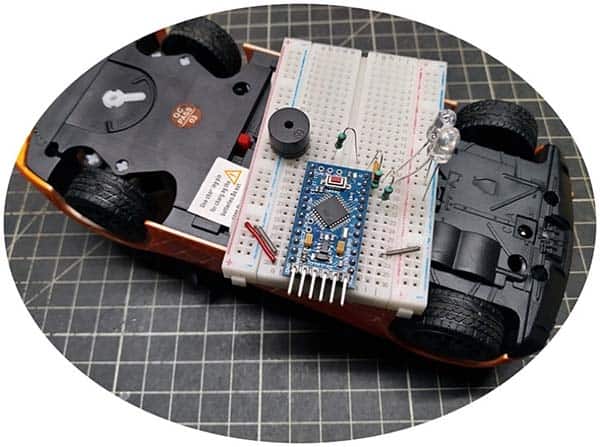
I just said I built it but haven’t yet said that I installed it in my toy car (ha ha)!
Look, it’s alive (also watch the quick and dirty test video clip).
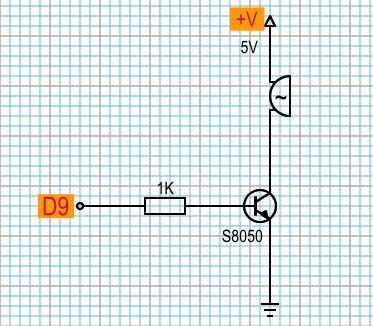
If you feel the siren sound is barely audible, you can use a simple driver circuit to get it aloud.
Moreover, you need to do a bit more than just hook up this Arduino setup to the power source of the toy car to make it work (hopefully, not a lot more). First off, you need to know how is the toy car powered and what voltage its electronics runs on. Knowing that the next step is to determine whether you can use the onboard power source directly or there’s a need to add something (like a buck or boost converter module) to make it work. There’re many things, too many to describe in one post.
RC toy cars and other remote-controlled toys have been a staple of kid’s play for decades. In recent years we’ve seen better-quality radio-controlled toy cars at much cheaper prices. A toy car offers plenty of scope for hacks, but how can we hack it? Let’s find out after a while!
Here you can see a quick and dirty test video of this experiment https://www.youtube.com/watch?v=_pGJFqAZn7A