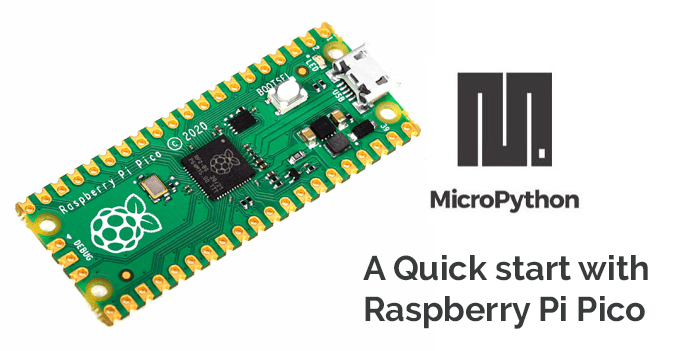
Raspberry Pi Pico W is another Raspberry Pi Pico but features Wi-Fi letting you to connect the device to a Wi-Fi network. In this quick starter post, you will learn how to start with a Raspberry Pi Pico W, and then how to run a “hello world” program.
RPi Pico W & Quick Specs
- RP2040 microcontroller chip designed by Raspberry Pi (UK)
- Dual-core Arm Cortex M0+ processor
- Flexible clock running up to 133MHz
- On-board single-band 2.4GHz wireless interfaces (802.11n)
- 264KB of SRAM
- 2MB of on-board Flash memory
- Castellated module (allows soldering direct to carrier boards)
- USB 1.1 with device and host support
- Drag-and-drop programming using mass storage over USB
- 26× multi-function GPIO pins
- 2× SPI, 2 × I2C, 2 × UART, 3 × 12-bit ADC, 16 × controllable PWM channels
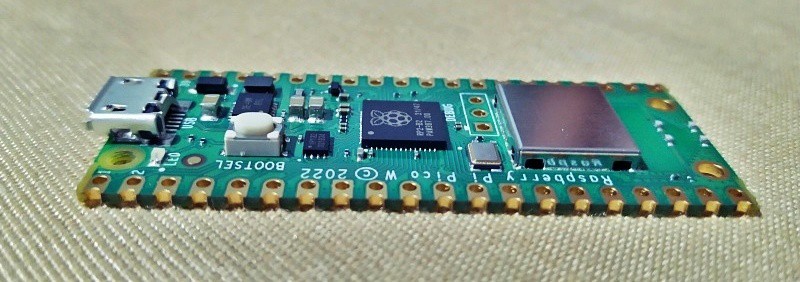
RPi Pico W integrates an Infineon CYW43439 wireless chip. Although the CYW43439 chip supports IEEE 802.11 b/g/n wireless LAN, and Bluetooth 5.2, only WLAN is supported at launch.
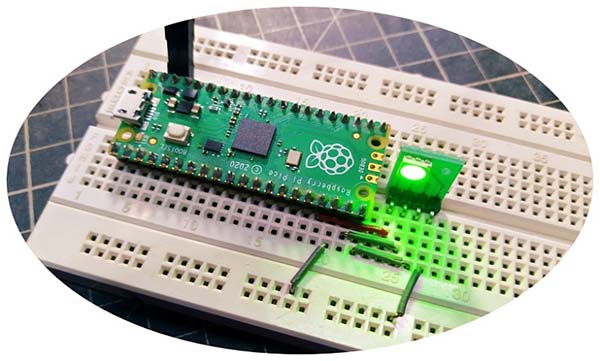
Also take note that regular edition of the RPi Pico W board (not RPi Pico WH) comes without pre-soldered header pins so you will need to gather some up separately if you are being after on plugging it into your breadboard.
RPi Pico W & Initial Setup
For this you will need a micro-USB cable and Thonny Python IDE in your computer. Now follow the below steps:
- Download the latest version of RPi Pico W firmware at https://rpf.io/pico-w-firmware
- Connect the micro plug of your micro-USB cable to the RPi Pico W
- Hold down the BOOTSEL button on your RPi Pico W
- Connect the other end of your micro-USB cable to your computer
- The file manager should open up with RPi Pico being show as an external drive
- Then drag and drop the downloaded firmware file into the file manager
- Your RPi Pico should disconnect and the file manager will close
- Finally, open the Thonny editor and look at the text in the bottom right-hand corner of the Thonny editor window to see the version of Python that is being in use
RPi Pico W & Wi-Fi Scan (Hello World)
Let us start trying the Wi-Fi features of the RPi Pico W.
The RPi Pico W has two Wi-Fi interfaces – network.STA_IF (the station interface) and network.AP_IF (the access-point interface).
The ‘default’ station interface can be used to connect the RPi Pico W to another 2.4GHz Wi-Fi access point, while the access-point interface can be used to turn your RPi Pico W into a Wi-Fi access-point that can connect up to 4 devices at the moment.
OK, let your RPi Pico W to scan Wi-Fi access points… This is an example code. Hope you know how to play with MicroPython. It is really a walk in the park!
import network
import binascii
wlan = network.WLAN()
wlan.active(True)
networks = wlan.scan()
i=0
networks.sort(key=lambda x:x[3],reverse=True)
for w in networks:
      i+=1
print(i,w[0].decode(),binascii.hexlify(w[1]).decode(),w[2],w[3],w[4],w[5])
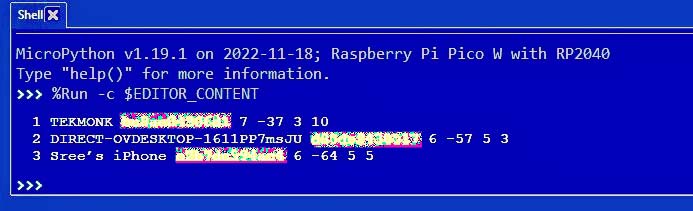
As it says, I have three access points nearby.
The output is a list with tuples that comprises six fields – ssid, bssid, channel, RSSI, security, hidden (the bssid is the same as the hardware unique mac-address).
And, there are five values for security (0-1-2-3-4), and two for hidden (0-1).
For more information, check out this link: https://docs.micropython.org/en/latest/library/network.WLAN.html
However, you will see that the actual output I get shows diverse (and undocumented) values for hidden (3,5,10…). So what do those strange values mean? I do not know anything about it yet.
Going Further…
So, you have started your game with the RPi Pico W (that is awesome). The first thing you will likely do with your RPi Pico W is try to connect it to a wireless network. It is easy with MicroPython when using the new network module, and you have done it successfully. I hastily prepared this primer just to get your feet wet. But hey, consider this just a ‘hello world’ for the RPi Pico W. Often there is a lot to try with the RPi Pico W as it is a surprisingly powerful toy for you (and me). Ready to jump in?