The Raspberry Pi Pico is a feature-rich microcontroller! Its low cost and wide availability make it a great microcontroller for our everyday electronics projects.
Python and C/C++ are lovely for programming the Raspberry Pi Pico but I believe being able to program it just like an Arduino microcontroller would help us to merge the Raspberry Pi Pico into the far-famed Arduino ecosystem. In this guide, I will show you how to program a Raspberry Pi Pico using the Arduino IDE, so without farther tattles, let’s get started!
Arduino IDE Preparation
First off, start your Arduino IDE, go to Tools → Boards → Boards Manager, and type “Pico” in the search box. Next, install the “Arduino Mbed OS RP2040 Boards”.

Thereafter, connect the micro USB cable to the Raspberry Pi Pico and then press and hold the “Bootsel” button before plugging the USB cable into the computer.
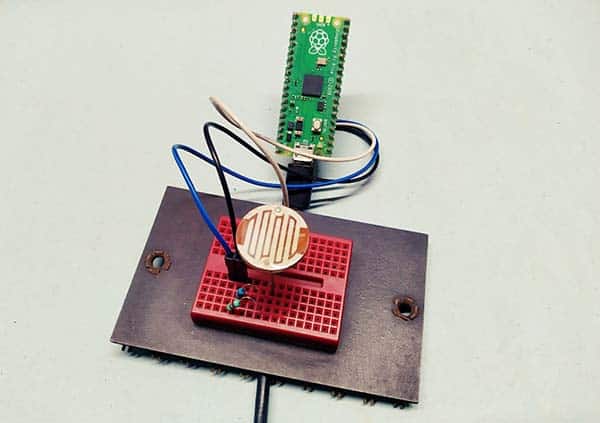
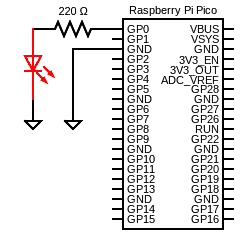
Hardware Setup Pointer
This is the simplest hardware setup recommended for this experiment.
First Code Upload
Go to the below code, copy-paste it into the Arduino IDE, click upload, and wait with patience for a few moments.
int picoLED = 25; // Pico Onboard LED
int userLED = 0; // External 5mm Red LED

void setup() {
  pinMode(picoLED, OUTPUT);
  pinMode(userLED, OUTPUT);
  digitalWrite(picoLED, HIGH);
}

void loop() {
  digitalWrite(userLED, !digitalRead(userLED));
  delay(500);
}
Further Confirmation
After the Arduino IDE shows that the code is uploaded successfully, check if the RPi Pico’s onboard LED turns on for a while or not. Also, check the external LED begins flashing continuously thereafter or not. Finally, unplug the RPi Pico board from the USB port and plug it back in. Then you should be able to see the name of the microcontroller by going to Tools → Port.

Voila, you can now use your Raspberry Pi Pico like an Arduino microcontroller and program it through your Arduino IDE!
To test this concept, I used the Arduino IDE 1.8.13 installed on my Windows 10 computer and I’ve got it all working exactly as I wanted it to.

Note that when you’re preparing software for hardware, the first program that gets run in a new programming environment is typically blinking a regular LED. Learning how to do that gets you halfway to anywhere.
In the code given above, the external LED (GP0) flashes at about 1Hz (50% duty cycle).

For starters, blinking an LED is the “Hello World” program of hardware, and I’m sure microcontroller enthusiasts has run it at least once in their life.
You probably noticed that there’s a large amount of example codes to blink an LED through Arduino or Raspberry Pi Pico. So, I’m not going into that right now.
What’s now? It’s time to look at my quick and dirty hardware setup. That’s it.

Finally, I hope this post helps you if you need a shortcut to run Arduino Sketches on your Raspberry Pi Pico. Have Fun!