A while ago someone asked me via email how to read a pulse input on an Arduino I/O pin. So, I decided to write a short note about that. Let me know in the comment zone any suggestions that you think will improve this post!
The pulseIn()
According to Arduino Advance I/O Reference, the function pulseIn() reads a pulse either HIGH or LOW on a pin. For example, if the value is HIGH, pulseIn() waits for the pin to go from LOW to HIGH, starts timing then waits for the pin to go LOW and stops timing. Returns the length of the pulse in microseconds or gives up and returns 0 if no complete pulse was received within the timeout (https://www.arduino.cc/reference/en/language/functions/advanced-io/pulsein/). Note that the timing of this function has been determined empirically and will probably show errors in longer pulses. Works on pulses from 10 microseconds to 3 minutes in length.
Syntax
- pulseIn(pin, value) pulseIn(pin, value, timeout)
Parameters
- pin: the number of the Arduino pin on which you want to read the pulse. Allowed data types: int.
- value: type of pulse to read: either HIGH or LOW. Allowed data type int.
- timeout (optional): the number of microseconds to wait for the pulse to start; default is one second. Allowed data types: unsigned long.
Returns
The length of the pulse (in microseconds) or 0 if no pulse started before the timeout. Data type: unsigned long.
Sample Code
int pin = 7;
unsigned long duration;

void setup() {
  Serial.begin(9600);
  pinMode(pin, INPUT);
}

void loop() {
  duration = pulseIn(pin, HIGH);
  Serial.println(duration);// print the time duration of a pulse on pin 7
}
The pulseInLong()
Look, the function pulseInLong() is an alternative to pulseIn() which is better at handling long pulse and interrupt affected scenarios. Further reading https://www.arduino.cc/reference/en/language/functions/advanced-io/pulseinlong/
Key things to remember
- pulseIn measures the HIGH or LOW time period while a signal continuously repeats
- pulseIn (best for short pulses)can measure pulses from 2-3us to 3minutes
- The HIGH/LOW parameter lets you to measure the HIGH or LOW period of the signal, but not both simultaneously
- pulseIn not allows interrupts (turn off interrupts for a more accurate pulseIn result)
- pulseInLong (best for long pulses) will return a longer time period than pulseIn as it’ll be interrupted by running interrupts
- pulseIn can be used if interrupts are turned off whereas pulseInLong can’t be used unless interrupts are turned on!
Thanks to https://www.best-microcontroller-projects.com/
The Practical Playground
In principle, the information from a digital signal can be decoded from its pulse. The pulse can certainly be measured through Arduino using pulseIn, that is from the duration of a digital pin (where the pulse is inputted) remaining HIGH/LOW.
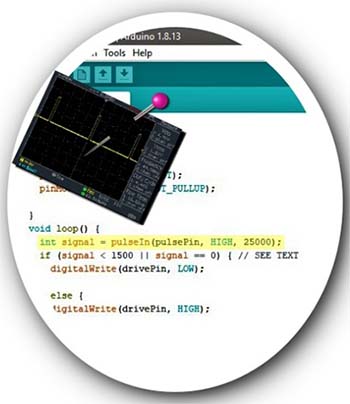
The following sample code expects a signal on Arduino’s pin 7 and uses the pulseIn function to measure the HIGH time. It is then returned to the Arduino serial monitor.
const byte pulsePIN = 7;

void setup() {
   Serial.begin(9600);
   pinMode(pulsePIN, INPUT);
}

void loop() {
unsigned long res;

  Serial.print("Time: ");
  Serial.println(millis());
  Serial.println("Measuring....");
  Serial.flush();

  noInterrupts();
  res = pulseIn(pulsePIN, HIGH,25000);
  interrupts();

  if (res) {
     Serial.print("Time HIGH (us): ");
     Serial.println(res);
  } else
     Serial.println("No Pulse Input!");

}
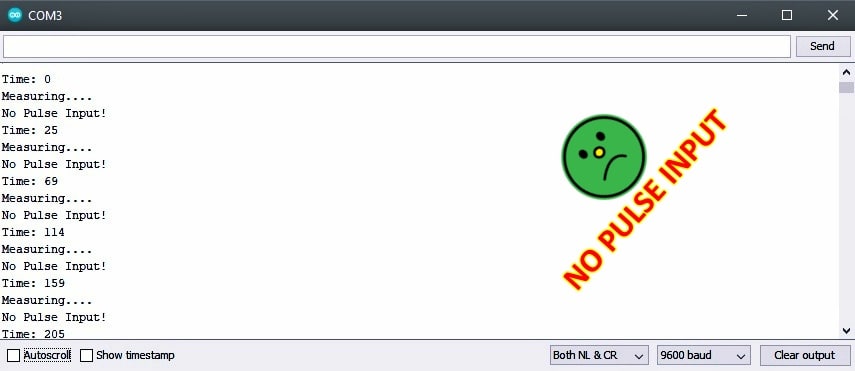
Here’s the output without a valid pulse input:
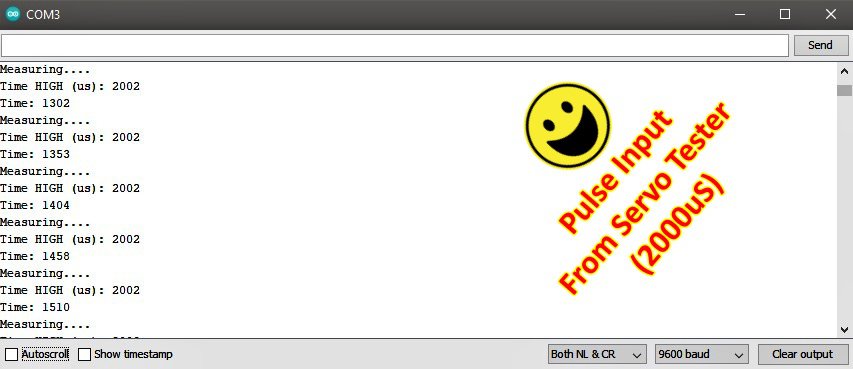
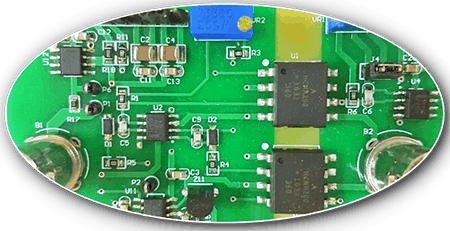
And, here’s the output with a 2ms (1-2ms dial at its maximum) pulse input coming from a cheap servo consistency tester:
Next crude code measures the frequency of a signal routed to pin 7. You can read the frequency through Arduino’s serial monitor.
int pulseInput=7;

int high_time;
int low_time;
float time_period;
float frequency;

void setup()
{
Serial.begin(9600);
pinMode(pulseInput,INPUT);

}
void loop(){
Serial.println("Measuring Frequency....");
high_time=pulseIn(pulseInput,HIGH);
low_time=pulseIn(pulseInput,LOW);
time_period=high_time+low_time;
time_period=time_period/1000;
frequency=1000/time_period;

Serial.print("Frequency (Hz): ");
     Serial.println(frequency);

delay(100);
}
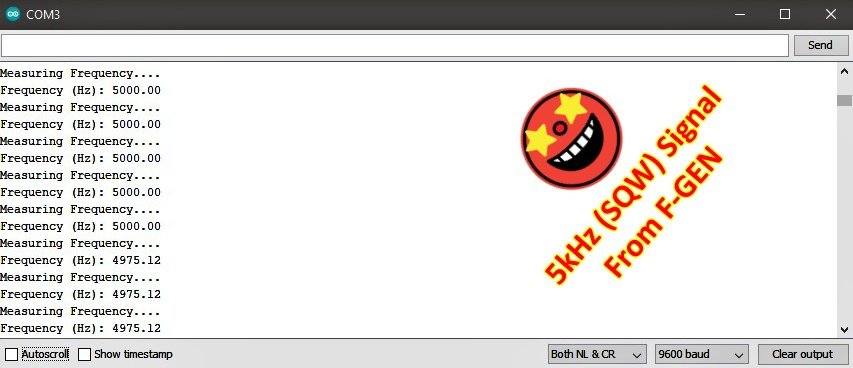
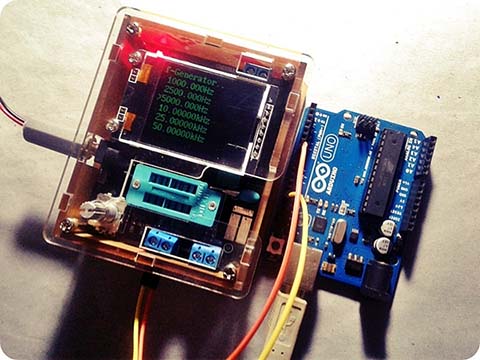
This is the readout of a 5V/5kHz square wave signal while it’s fed to the pulse input pin (D7). I used the function generator feature available in my cheap but trusty multifunction component tester to generate the requisite test signals. It seems that the setup works just as expected!
The temporal end!
Frankly, having not traveled wide through the pulseIn function before, how they work was a bit of a mystery to me. And, I wasn’t sure about how to tailor the codes for tyros. Doing a bit of Googling, I found a vast number of useful code snippets. Note, I probably could have refactored the sample codes gathered to make it a bit more concise, but I wanted to keep it as understandable as possible. Now I hope that this little post is useful as the writeup walks through the description of a function, and how to read a pulse input using that function.
That’s it for now, however, there’re some ideas of how you might further improve this theme. So, look at this space often, you can definitely see some hobby projects on model aircraft electronics!

Can an accurate frequency be obtained for a triangle or sine wave using the pulseIn() function? All examples I’ve found at arduino.cc and the net speak only of the square wave when using pulseIn(). I’m convinced it could be used for other type waveforms as well, but no one seems to explain how it can be done. Can this be done without the need for mathematical equations? If not, what are these equations?
Henri Coderre:
As far as I know, the Arduino’s pulseIn() function reads a HIGH or LOW (0.6x VCC or 0.3x VCC) pulse on a pin, and works on pulses from 10 microseconds to 3 minutes in length.
To be honest, my experience on this subject is very limited. So I can not give you any practical advice. However you can go through this link to get some alternative ideas (https://github.com/mikedotalmond/arduino-pulseInWithoutDelay).
Further, hope you are well aware of the need to employ a Schmitt trigger to convert any form of signal into a rectangular form, because the Arduino cannot directly detect a waveform another than a rectangular (or square) waveform.
Thank You!