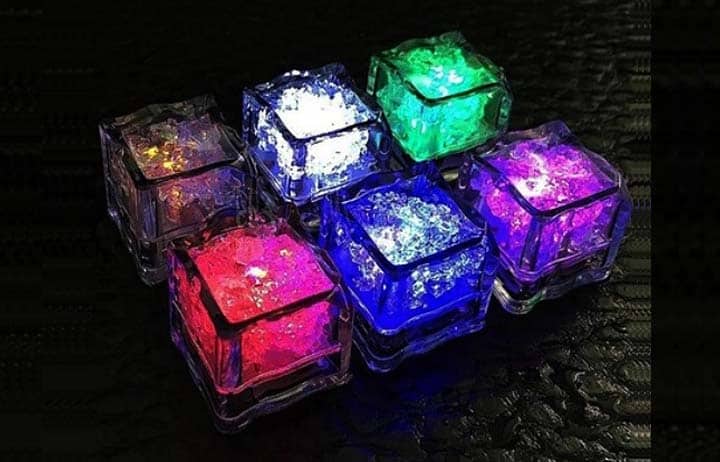
Like many other Chinese funny gadgets, liquid-activated light up ice cubes are now flooding our markets. We can easily buy many of them for a few bucks, but what about making similar beautiful cubes ourselves?
If you have some time to spare, and you love the smell of molten solder, this post is for you!
The concept is very simple. First make a simple water-activated LED circuitry, then place it securely inside a clear (transparent) epoxy resin shell. As you know, epoxy resin circuits have been and still are fantastic electronics crafts.
Resins are widely used for potting and encapsulation in the electronics and electrical industries. Generally, epoxy resin provides a hard and rigid encapsulation when cured.
Today there are a broad range of different epoxy-based resin systems available, offering a wide range of different properties.
Note that epoxy resin is a type of thermosetting resin that is made by mixing a resin and a hardener. The chemical reaction that occurs when the two are mixed turns the liquid epoxy into a solid.
And, liquid resin (a man-made version of natural resin) is a viscous liquid that is combined with a hardening agent to create plastic. Liquid resins are viscous, liquid polymers that can transition from a liquid into a solid structure.
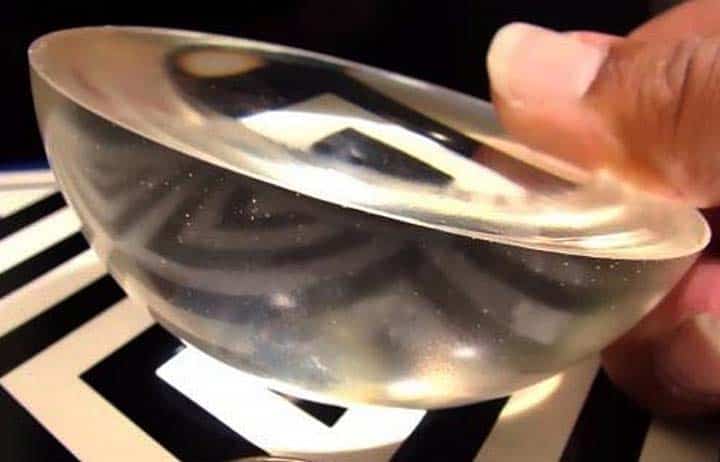
After completing the electronics assembly, you need to prepare a plexiglass mould to fill with “food-grade” clear epoxy resin and cover the entire electronics. After one night (or a period of time indicated in the epoxy resin kit instruction leaflet) you will have your light up ice cube (a little sanding and polishing will often make it look nicer).
Before starting the construction, make a detailed plan, and gather all the necessary supplies as it minimizes interruptions and ensures a flowing and connected creative process. Also, prioritize safety invariably, use appropriate protective gear, follow instructions carefully, and handle dangerous tools with great care. Do not rush – Rushing can lead to misplays and a less gratifying outcome.
I will not go into detail about the epoxy resin chemistry or the guidelines to make the epoxy resin electronics sculptures, mainly due to space and time constraints. But do not panic, a simple Google Search will return you countless ideas and instructions on this. All you need is some skill and patience (and an artistic mind of course) to follow it exactly.
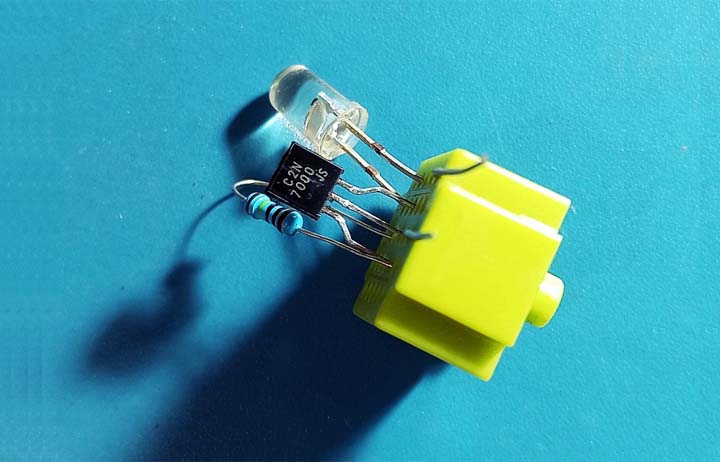
Setting up a water-activated LED light up circuit will never pose any undue disquiets to the regular visitors of this site as I have published several related projects under different captions. Anyway here is one more for our newbies (welcome guests).
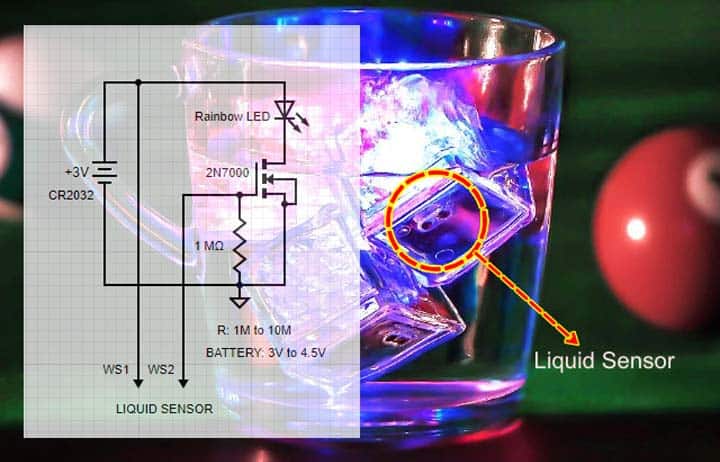
Parts List:
- 2N7000 N-Channel MOSFET x1
- 5mm Rainbow Color Cycling LED x1
- 1MΩ ¼ w Resistor x1 (see note)
- CR2032 3V Coin Cell x1 (see note)
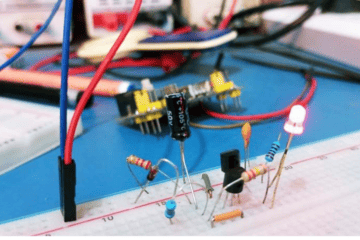
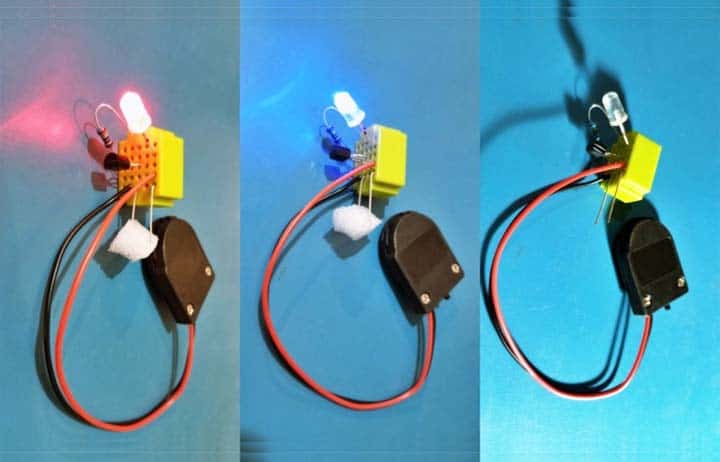
You do not really need a special printed circuit board, but a stamp-sized perfboard works well, or go for that old school dead-bug style. A casual lab snap of my hurried and brief mock up (just a proof of concept) is shown below.
So, what are you waiting for? Gather your supplies, channel your inner artist, roll up your sleeves and dive into an amazing hands-on project. Good Luck!