A common application for electronic timers is to turn electrical devices on/off until a predetermined time, a task that can easily be implemented with ubiquitous microcontrollers like the Arduino!
Usually that time period starts from a few seconds and goes up to a few minutes, but in certain cases it may be essential to set a timer capable of handling longer events. I recently went through such a situation, but when I was willing to spend a few hours to prepare the code myself, luckily, I was able to find a great code snippet for it on the web. So, I am loosely sharing some hints through this post, as I think it will be helpful to many Arduino fans here. Well, let us see how it goes…

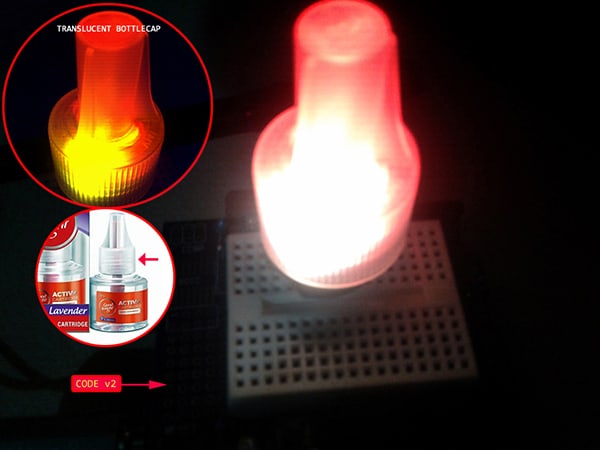
As I said before, when I accidentally found a useful piece of code, I tailored it to my specific need to save a few hours. In my project, the code controls a relay module via a momentary push switch that acts as a timer trigger button. The timer period is set to 1 minute for quick tests, but it has been tested successfully for up to 5 minutes (even more is possible).
Below you will see the adapted Arduino Uno/Nano Sketch…
int triggerInput = 12; //Timer Trigger Input D12
int relayOutput = 8; //Relay Driver Output D8
unsigned long timerCount = 0;
void setup()
{
  pinMode (triggerInput, INPUT_PULLUP); //Saved one external pull-up resistor
  pinMode(relayOutput, OUTPUT);
  digitalWrite(relayOutput, LOW); //Relay OFF
}
void loop()
{
  if (digitalRead (triggerInput) == LOW)
  {
    timerCount = 1 * 60 * 10; //~ 1 min timer
    //(X mins * XX sec * XX * 1 deciseconds)
  }
  if (timerCount != 0)
{
  digitalWrite(relayOutput, HIGH); //Relay ON

    timerCount = timerCount - 1;

    delay(100);
  }
  else {
    digitalWrite(relayOutput, LOW); //Relay OFF

  }
}
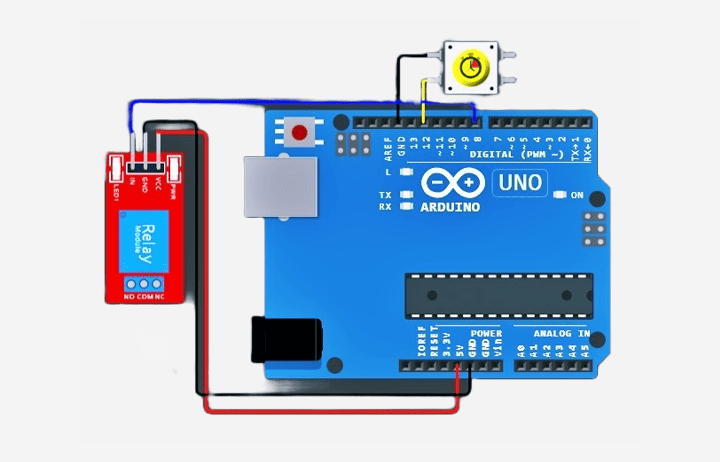
The key hardware bits are an Arduino Uno, a high level trigger 5VDC single relay module, and a normally-open momentary pushbutton switch. That is it!
And, here is the simplified hardware setup diagram…
Also see my WokWi simulation page
To be honest, this timer is not very accurate, but this does not become a serious drawback in my intended project (garage lamp and door controller), so I blindly took it.
This is another simple timer code for the same Arduino Uno setup. By default, the time period is around 30seconds. Give it a try!
int SW = 12;
int RLY = 8;
void setup()
{
  pinMode(SW, INPUT_PULLUP);
  pinMode(RLY, OUTPUT);
}
long offtime = 0;
void loop()
{
  if ((digitalRead(RLY) == LOW ) && (digitalRead(SW) == LOW) )
  {
    digitalWrite(RLY, HIGH);
    offtime = millis() + 30000; //~30 sec timer
  }

  if (digitalRead(RLY) == HIGH)
  {
    if (millis() >= offtime)
    {
      digitalWrite(RLY, LOW);
    }
  }
}
Well, now we have a couple of Arduino timer codes. They are both relatively simple – that is the goal. Moreover, every application will be different and prototyping is important, so you might try a few different code patterns to see what gives you the best feel for your particular project. Sometimes it ends up being a rehash of what someone else has done, perhaps with a completely different intent. Even so, enjoy!