The key purpose of a panic alarm (also called duress alarms, hold-up alarms, or panic buttons) is to allow a person under threat to quickly call for help in the event of an emergency. There’re a lot of superb panic alarms on the market but choosing the right device that will not cut into a large chunk of your time and budget is not an easy task. However, a dedicated panic alarm on your home/office adds a valuable layer of security, as it offers a better sense of confidence. Okay, then why not build a budget one yourself?
Here’re the details in case you want to make your own cheapo panic alarm/button (some assembly required). Let’s start with the schematic for the project!
Schematic
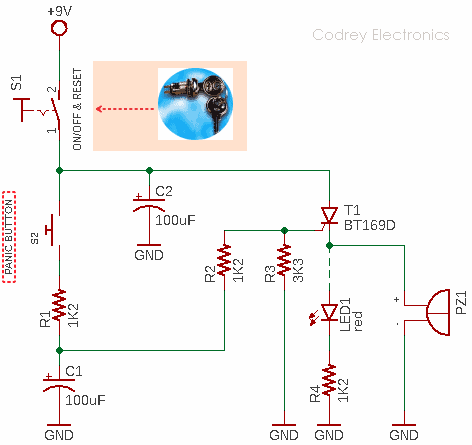
Key Parts
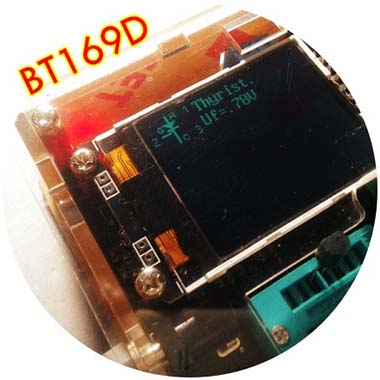
I used a randomly picked BT169D thyristor but almost any drop-in replacement type will work.
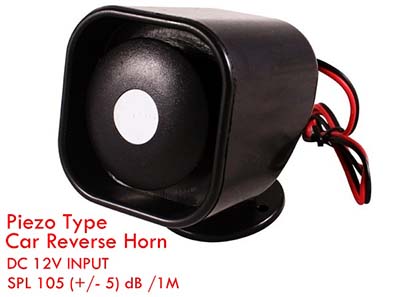
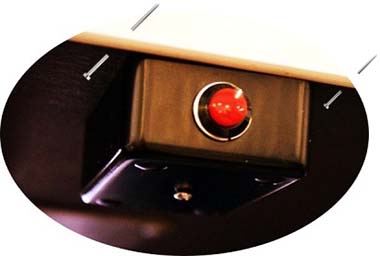
The sounder (car reverse horn – see the sample image shown below) is from a local automobile spare parts shop. It’s a piezo-based unit that generates a high-pitched warbling siren, runs off of 12VDC at a rated 200mA. It really is loud enough but I may replace it with a diminutive size piezo sounder later. At present, my original intention is to dismantle the car reverse horn and use its key parts for my project. I definitely need its piezo disc cavity and all other components, but don’t need that big outer shell.
Enclosure Hints
I’ve been on the lookout for a small enclosure that would work for this project for a while and finally found it at a neighbouring store. A 3D-printed box would have been better, but I made do with what I could get locally. The final build is yet to be worked out but you can see the proposed enclosure artwork below.
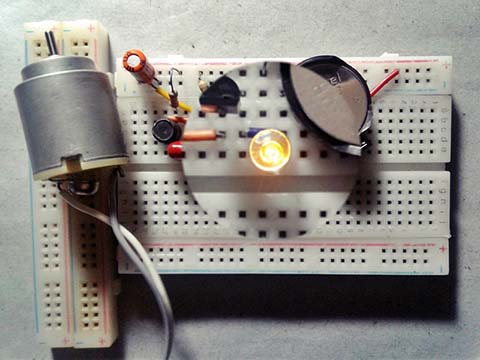
Quick Build
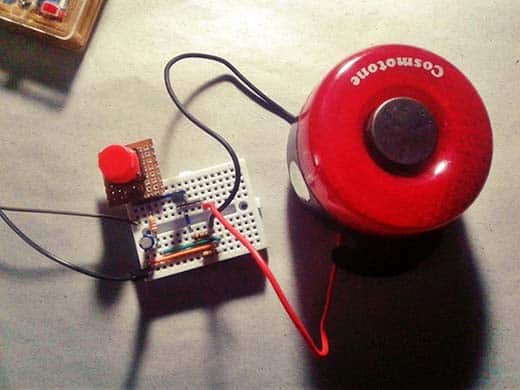
Here’s how I built the prototype on my 9V battery-powered breadboard for a quick evaluation.
Going Further
When going to build your own electronics, you can of course solder the key components on a small piece of the perforated circuit board. Needless to say, after completing your assembling task, you’ll need to prepare an enclosure to protect your electronics from invasive hands.
Voila! There’s your complete panic alarm/button. If you’ve done everything right, you should be hearing a very loud ‘latching’ noise when you press the panic button!
There’re various methods that can be used to notify others when a panic button has been touched off by someone. Anyway, this is an indoor panic alarm/button tailored just to raise a ‘local’ piercing alert when its panic button is depressed. But note that it’s possible to linkup this device to a wired/wireless remote alarm system which is able to broadcast the call out to all expected responders.
Also note that your panic alarm/button should be installed in a location where it can easily be reached, yet out of view of the casual observer. In practice, it’d be better to install the panic alarm/button on the underside of a bed or desk.
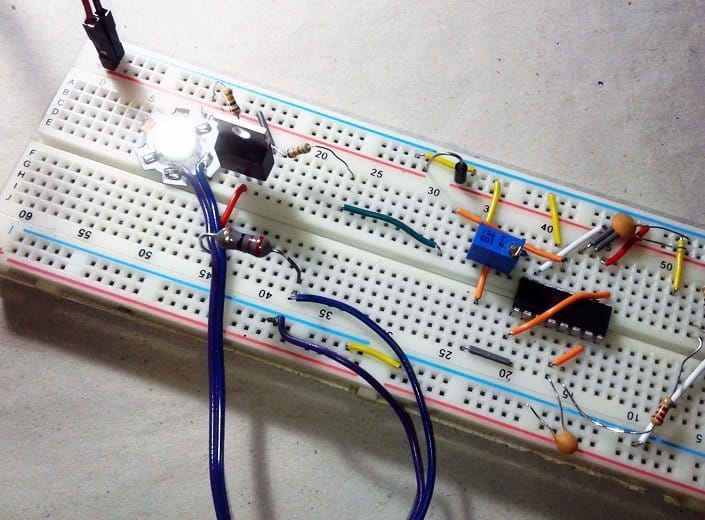
The Helmholtz Chamber
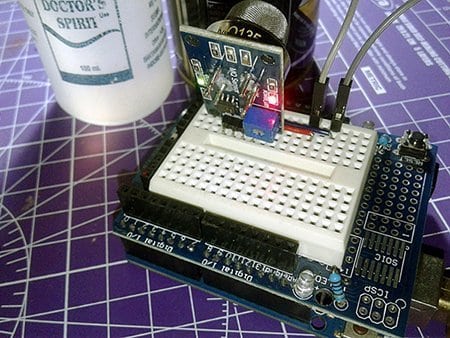
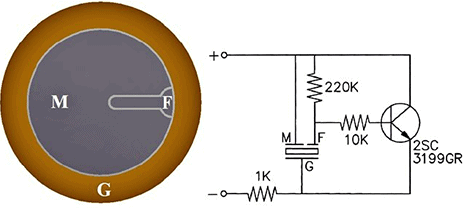
This session briefly illustrates how only a few low cost electronic components are required to build your own active piezo buzzers/sounders.
Note that a piezoelectric element (also known simply as a piezoceramic disc, piezo disc, or piezo bender) can be configured with or without a feedback circuit. Adding a feedback circuit to a piezo bender allows it to be used in conjunction with an external transistor and dc voltage to create a low-cost oscillation circuit. The oscillation circuit generates a tone based on the resonant frequency of the piezo bender, which is the frequency at which the piezo bender creates the most output. This results in a higher sound pressure level and lower frequency drift. However, the piezo bender by itself, without a case or tuned enclosure, has a very low sound pressure level (SPL).
By mounting a piezo bender into an enclosure, and then by tuning that enclosure to a frequency that aligns with the piezo resonant frequency, a Helmholtz chamber – also called as Helmholtz resonating case (cavity) – is formed. Within the Helmholtz chamber, a larger volume of air becomes a piston that moves air, more efficiently than the piezo disc by itself, by more closely matching the acoustic impedance of air.
Piezo Bender Cavity Design: https://www.mouser.com/pdfDocs/db_unlimited_bender_cavity_article_121514.pdf
This is the inside view of an utterly cheap 12VDC piezo buzzer:

And, here is a reference design for a low-cost piezo buzzer similar to the one shown above. Thanks to https://www.puiaudio.com/
Wrapping Up
Panic alarms/buttons have come a long way in recent years. Today’s do it yourself kits are battery-powered, microcontroller driven, wireless, and even remote-controlled! They couldn’t be easier to build, and they’ve never been so reasonably priced. But do you really need one? Then you can start with the little idea described here. And besides (as you’ll see), it’s so easy to set up and the required components are ridiculously cheap these days, that there’s no reason not to give it a go!

Credits & References
- https://en.wikipedia.org/wiki/Panic_button
- https://en.wikipedia.org/wiki/Helmholtz_resonance
- https://www.nutsvolts.com/magazine/article/scr_principles_and_circuits
- https://www.mouser.com/datasheet/2/302/BT169D-527397.pdf
- https://www.flipkart.com/hard-eight-horn-universal-car/p/itmfc3vcgu4dcvqs
- https://diyaudiocart.com/elcom-key-lock-switch-5a